What is House Rendering? Here are Expert Tips to Paint Rendered Walls

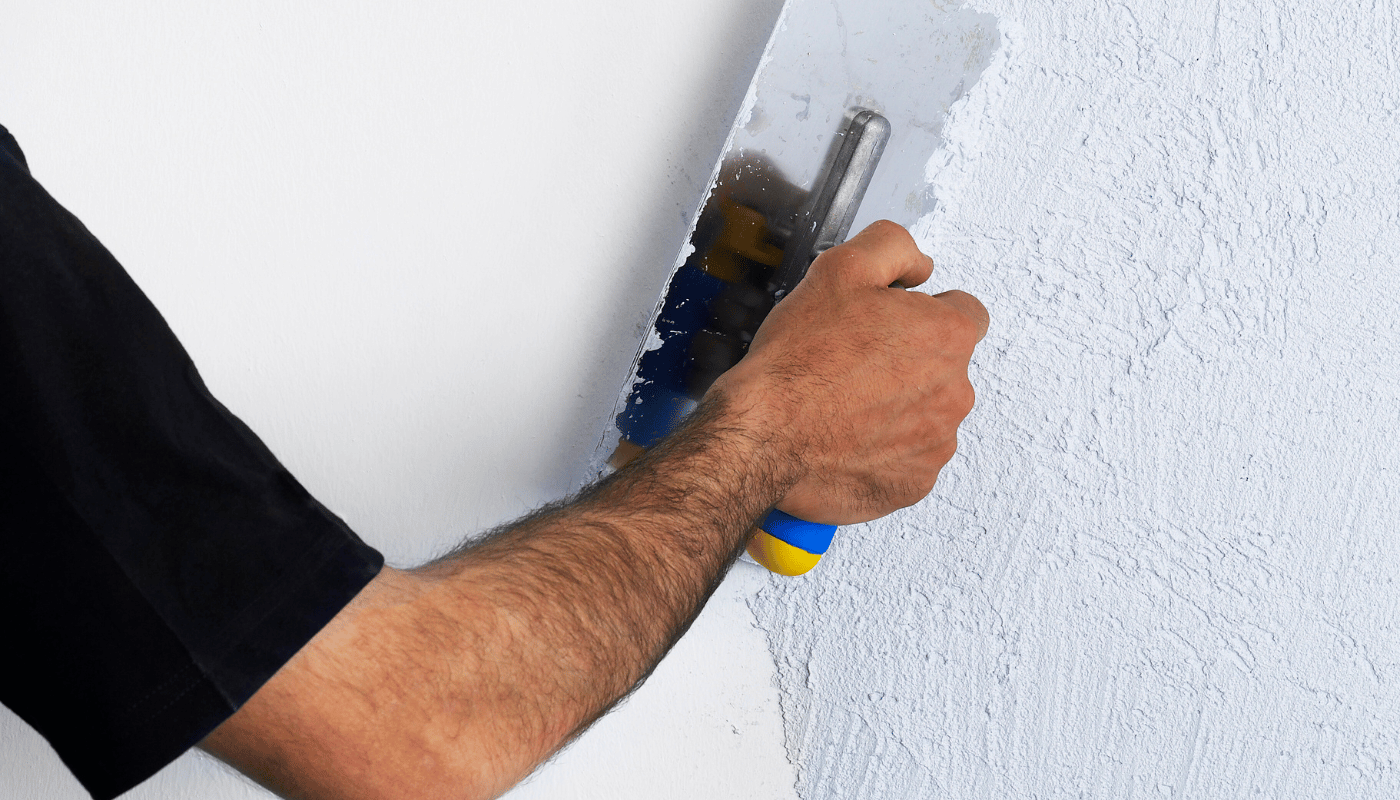
House rendering involves applying a mixture—typically made from cement, lime, sand, or acrylic—to the external walls of a property.
The primary goal is to create a smooth or textured surface that improves the aesthetic appearance, enhances weather resistance, and provides insulation benefits.
By applying this extra layer, house rendering can help protect your home against the elements, reduce the impact of temperature fluctuations, and increase the longevity of your exterior walls.
Benefits of House Rendering
Aesthetic Appeal: Rendering can transform the look of outdated or weathered walls, giving your property a fresh, modern appearance. You can choose from a variety of textures and colours to suit your style and architectural design.
Protection from Elements: Render acts as a shield against environmental elements, such as rain, wind, and extreme temperatures. It reduces moisture absorption, which can help prevent structural issues, such as cracks or dampness.
Thermal Insulation: Adding a rendered coat can provide extra insulation, helping keep your home warmer in winter and cooler in summer. This can contribute to better energy efficiency and potentially lower heating and cooling costs.
Prevent Aging and Wear: By applying a render, you create a layer that slows down the natural wear and tear process on brickwork, blue board, or slate. This extra protection can prolong the lifespan of your exterior walls.
Increased Property Value: A well-rendered and painted exterior can improve curb appeal, making the property more attractive to potential buyers and potentially increasing its market value.
How Can You Prepare a Rendered House for a Painting Job?
Preparing a rendered house for a painting job is essential for achieving a professional finish and ensuring the paint adheres well for long-lasting results.
Here’s a detailed guide to prepping your rendered surfaces:
Inspect and Repair Surface Damage
- Begin by examining the rendered walls for cracks, holes, or any damage.
- Use an exterior-grade render filler to patch these areas, ensuring a smooth and even surface for painting.
- For larger cracks, clean the area and remove any loose material around the damage. Apply the filler with a putty knife, smoothing it out for an even finish. Let it dry completely according to the product instructions.
Remove Loose Render and Flaking Paint
- Use a stiff brush to remove any loose render or peeling paint from the surface. This step is crucial for preventing new paint from bubbling or flaking prematurely.
- If areas are particularly stubborn, use medium-grit sandpaper to smooth the edges, ensuring there’s no loose material that could compromise the new paint layer.
Clean the Surface Thoroughly
- Dirt, dust, and grime can reduce paint adherence, so it’s essential to clean the surface thoroughly. Use a pressure washer on a low setting to remove dust and grime.
- For stubborn stains, use a mild soap solution and a soft brush. Rinse thoroughly and let the surface dry completely before moving forward.
Sand and Smooth the Rendered Surface
- For a sleek finish, sand the filled and repaired areas to blend them seamlessly with the surrounding surface. Use fine-grit sandpaper for a smooth and even texture.
- If your rendered wall is slightly rough, a light sanding can help even out the texture, giving your paint a better surface to cling to.
Apply Painter’s Tape to Protect Windows, Doors, and Trims
- Use high-quality painter’s tape to cover the edges of windows, door frames, and any other areas you want to protect from paint splatters. This step will make cleanup easier and provide crisp, clean lines around architectural features.
- Ensure the tape is securely applied to prevent paint from seeping underneath.
Prime the Surface (if Necessary)
- For older rendered walls or surfaces that have been heavily repaired, applying a quality exterior primer can improve paint adhesion and help achieve an even colour.
- Use a primer designed for rendered surfaces and allow it to dry completely before starting the painting process.
Choose the Right Weather Conditions
- Timing is key to a successful painting job. Avoid painting during very hot, cold, or rainy weather, as extreme temperatures or moisture can affect paint application and drying.
- Choose a day with moderate weather conditions and ensure you have enough daylight hours to complete the job.

Prepare the Paint and Tools
- Opt for a durable, weather-resistant exterior paint, ideally one with moisture resistance and UV protection for longevity.
- Equip yourself with quality brushes and rollers suited for textured surfaces, as these will help achieve better coverage and a smooth finish.
Double-Check for Dust and Debris
- Before applying paint, do a final check to ensure the surface is free from dust or debris. Even a small amount of dust can interfere with the paint’s ability to adhere properly.
How to Clean Exterior Rendered Walls
Using a high-pressure wash paired with an anti-mould disinfectant is an efficient way to clean and sanitize the exterior walls of your home.
This method not only removes dirt and grime but also prepares the porous surface for new coatings, helping to prevent issues like efflorescence.
It’s essential to address any holes along control joints promptly. Start by removing any loose or crumbling render around these areas. For more durable repairs, apply a strip of polyurethane sealant to bridge any cracks along control joints, ensuring a smooth, stable surface.
Expert Tips for Painting Rendered Walls
Once the rendering is complete, painting is a crucial step to finish the look and ensure optimal protection.
Here are some expert tips:
Wait for the Render to Cure: Allow newly rendered walls sufficient time to cure before painting. This can take anywhere from 4 to 6 weeks, depending on the weather and the type of render used.
Clean the Surface Thoroughly: Before painting, clean the surface to remove dust, dirt, or loose particles. Use a pressure washer for effective cleaning, but ensure the walls are completely dry before applying any paint.
Use a Quality Exterior Primer: Apply a good quality primer that matches your paint type to help the topcoat adhere better and enhance durability. Priming is especially important for new render, which is highly absorbent.
Choose the Right Paint: Opt for breathable, weather-resistant exterior paint designed for rendered surfaces. Acrylic-based paints are popular for their flexibility and resistance to cracking, while limewash or mineral paints offer a more natural finish that allows the wall to breathe.
Apply Multiple Coats: Rendered walls can be highly absorbent, so it's often necessary to apply two or more coats of paint for even coverage. Allow each coat to dry completely before adding the next.
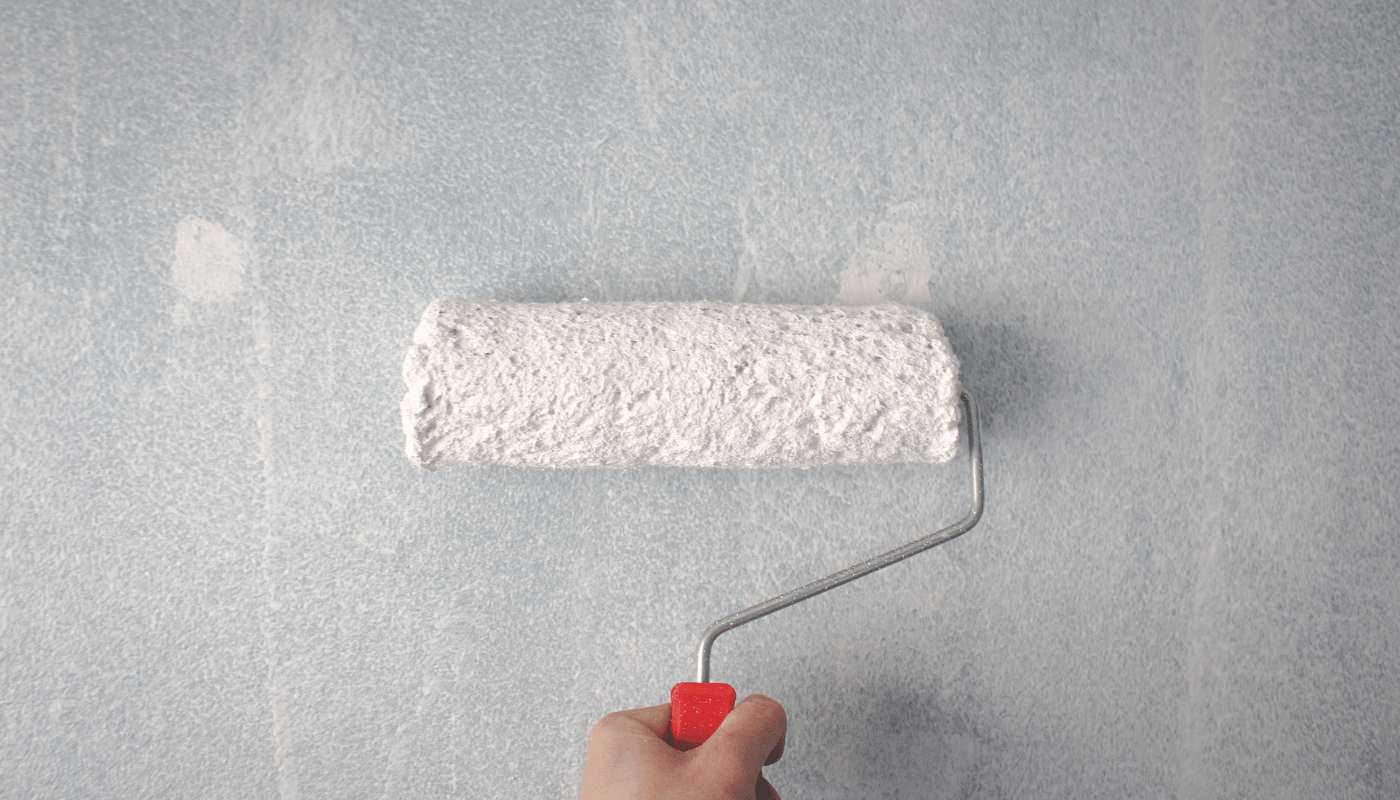
Use Proper Tools and Techniques: Use rollers for large surface areas and brushes for edges or intricate sections. Apply the paint in even strokes, working from top to bottom to prevent drips and streaks.
Consider Weather Conditions: Avoid painting during very hot, cold, or wet weather, as extreme temperatures and moisture can impact how the paint adheres and dries.
Regular Maintenance: To maintain the look and integrity of painted rendered walls, inspect them regularly for signs of peeling or cracks. Touch up damaged areas promptly to prevent moisture ingress and structural damage.

How Does the Type of Render Affect the Paint Job?
The type of render applied to a building’s exterior significantly influences the choice of paint, as different renders have unique characteristics that impact how paint adheres, lasts, and performs.
Here’s a breakdown of the most common types of render and the recommended paint choices for each:
Silicone Render
- Characteristics: Silicone render is prized for its water-resistant and breathable properties, making it highly effective in preventing moisture buildup while allowing vapour to escape.
- Recommended Paint: Silicone-based paints are the ideal choice for silicone-rendered surfaces. These paints share similar properties, providing a water-resistant yet breathable finish that maintains the integrity of the render. This pairing minimises the risk of moisture trapped under the paint, which can lead to peeling or bubbling over time.
Acrylic Render
- Characteristics: Acrylic render is durable and flexible, offering good resistance to cracking, even on surfaces prone to slight movements. It’s a versatile option often used for modern homes due to its ease of application and smooth finish.
- Recommended Paint: High-quality exterior acrylic paints are best for acrylic render, as they provide a strong bond and excellent coverage. Acrylic paints are flexible and can expand and contract with the surface, preventing cracking and extending the life of the paint job. Look for a weather-resistant option to improve durability in harsh climates.
Cement Render
- Characteristics: Cement render is robust and often used for its affordability and durability. However, it’s less flexible than other types of render and can develop cracks over time if not maintained properly. It’s typically used in newer constructions or on budget-friendly projects.
- Recommended Paint: For cement render, moisture-resistant masonry paint is an ideal choice. This type of paint provides additional protection against water penetration, which is particularly beneficial for cement-rendered walls susceptible to moisture buildup. An elastomeric paint can also be beneficial as it has crack-bridging qualities, adding resilience to the finish.
Lime Render
- Characteristics: Lime render is commonly used in older or traditional buildings due to its high breathability and flexibility. It allows moisture to escape from the wall structure, making it an excellent choice for heritage properties where dampness could otherwise be an issue.
- Recommended Paint: Breathable masonry paint or limewash is typically recommended for lime render. These paints allow the render to "breathe," helping to maintain the building’s natural airflow and prevent damp buildup. Limewash, in particular, has been used for centuries on lime-rendered surfaces and provides an authentic, traditional finish.
Polymer-Modified Render
- Characteristics: Polymer-modified renders incorporate synthetic resins, enhancing flexibility, durability, and adhesion. They are generally low-maintenance and can be applied to a range of surfaces, including difficult substrates.
- Recommended Paint: Use a flexible exterior-grade paint compatible with polymer-based surfaces. Look for paints with weather resistance and UV protection, as these will ensure a lasting finish that resists cracking, fading, and peeling.
Key Considerations When Choosing Paint for Rendered Walls
- Breathability: If your render type is highly breathable (such as lime or silicone), opt for a paint that won’t trap moisture. Breathable masonry paints are an excellent choice, especially for older or traditional homes.
- Water Resistance: In damp climates or for areas prone to wet conditions, prioritise water-resistant paints that can prevent moisture ingress. Silicone-based paints are well-suited for these conditions, providing excellent water repellency.
- Flexibility: Renders like acrylic and polymer-modified types benefit from paints that can flex and adapt to slight movements, as these surfaces are prone to expansion and contraction.
Choosing the right paint based on your render type not only preserves the aesthetic appeal of your home but also prolongs the lifespan of both the paint and render.


