How to Clean and Prep Walls for Painting

Washing Walls before Painting - an essential guide
Painting walls is a simple and transformative way to refresh any room.
But the secret to a flawless paint job lies in the preparation process.
Prepping walls for paint may seem tedious, but it's essential for achieving a smooth, lasting finish.
Follow this Painters Newcastle step-by-step guide to get your walls ready for paint and ensure your new colour goes on beautifully and lasts for years to come.
Step 1: Clear and Protect the Room
Before diving into the wall prep, take a moment to prepare the room itself:
- Remove Furniture and Accessories: Clear as much furniture from the room as possible. For larger items, push them to the centre and cover them with drop cloths or plastic sheeting.
- Cover the Floors: Protect your floors with drop cloths or plastic sheeting. This will catch any dust, dirt, or drips from your prep work and the painting process itself.
By taking these precautions, you prevent debris and spills from ruining your furniture and floors, leaving you free to focus on the walls.
Step 2: Dust and Remove Loose Dirt
Walls accumulate dust and cobwebs over time, which can hinder paint adhesion.
To start with a clean surface:
- Use a Cloth or Dust Brush: Gently brush down the walls with a soft cloth or dust brush, making sure to get into the corners and along the ceiling and baseboards.
- Check for Stains: If you notice any greasy or sticky stains, keep a mental note, as you’ll need to clean these more thoroughly in a later step.
Dust-free walls mean your paintbrush and roller will stay cleaner, making the paint application smoother.
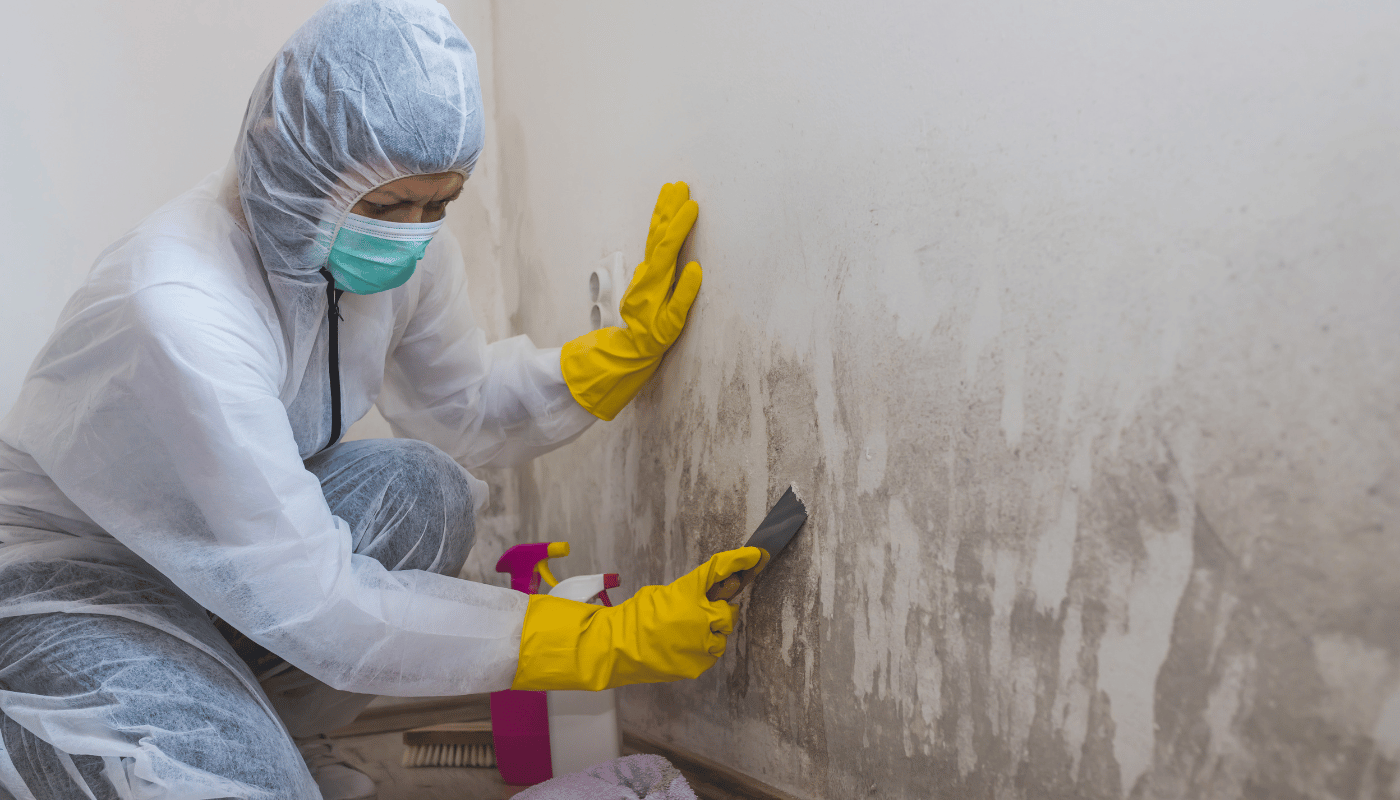
Step 3: Check for and Treat Mould
Especially in rooms prone to humidity, such as bathrooms and kitchens, mould can develop on walls.
Painting over mould is never advisable, as it can spread and bleed through the paint, creating an unhealthy environment.
Here’s how to address it:
- Inspect the Walls: Look for any dark spots or discolouration, which could indicate mould.
- Apply a Mould Killer or Fungicidal Solution: Use a solution specifically designed for mould removal. Apply it with a spray bottle, ensuring thorough coverage of affected areas.
- Ventilate the Room: Mould thrives in damp, enclosed spaces, so keep windows open or use a fan to air out the room during and after cleaning.
Always read the product instructions on your mould remover and wear protective gear to prevent inhalation or contact with your skin.
Step 4: Assess the Wall Surface Quality
The condition of the existing wall surface affects how well new paint adheres and how smooth the final finish appears.
Check for the following:
1. Chipped or Bubbled Paint
- Use Fine-Grade Sandpaper: Lightly sand down any chipped or bubbled areas. This smooths out imperfections and prevents uneven surfaces from showing through your fresh coat of paint.
2. Rough Patches
- Sand for Uniform Texture: If you feel rough spots, sand them until smooth to avoid an inconsistent finish.
3. Shiny or Glossy Surfaces
- Sanding for Adhesion: Glossy paint can make it harder for new paint to adhere, especially if switching to a matte finish. Lightly sand shiny areas to create a rougher texture that will "grip" the new paint.
Tip: When sanding, always use a dust mask to protect your lungs, and clean up dust with a vacuum or damp cloth afterward to ensure the wall is dust-free.
Step 5: Remove Wallpaper if Present
Wallpaper requires special handling to ensure the paint doesn’t peel or bubble:
- Apply Wallpaper Remover: This product dissolves the adhesive, allowing you to peel off the wallpaper more easily.
- Remove All Glue Residue: Glue left behind can discolour or peel the new paint, so be meticulous. You can use warm water and a sponge to gently remove any remaining adhesive.
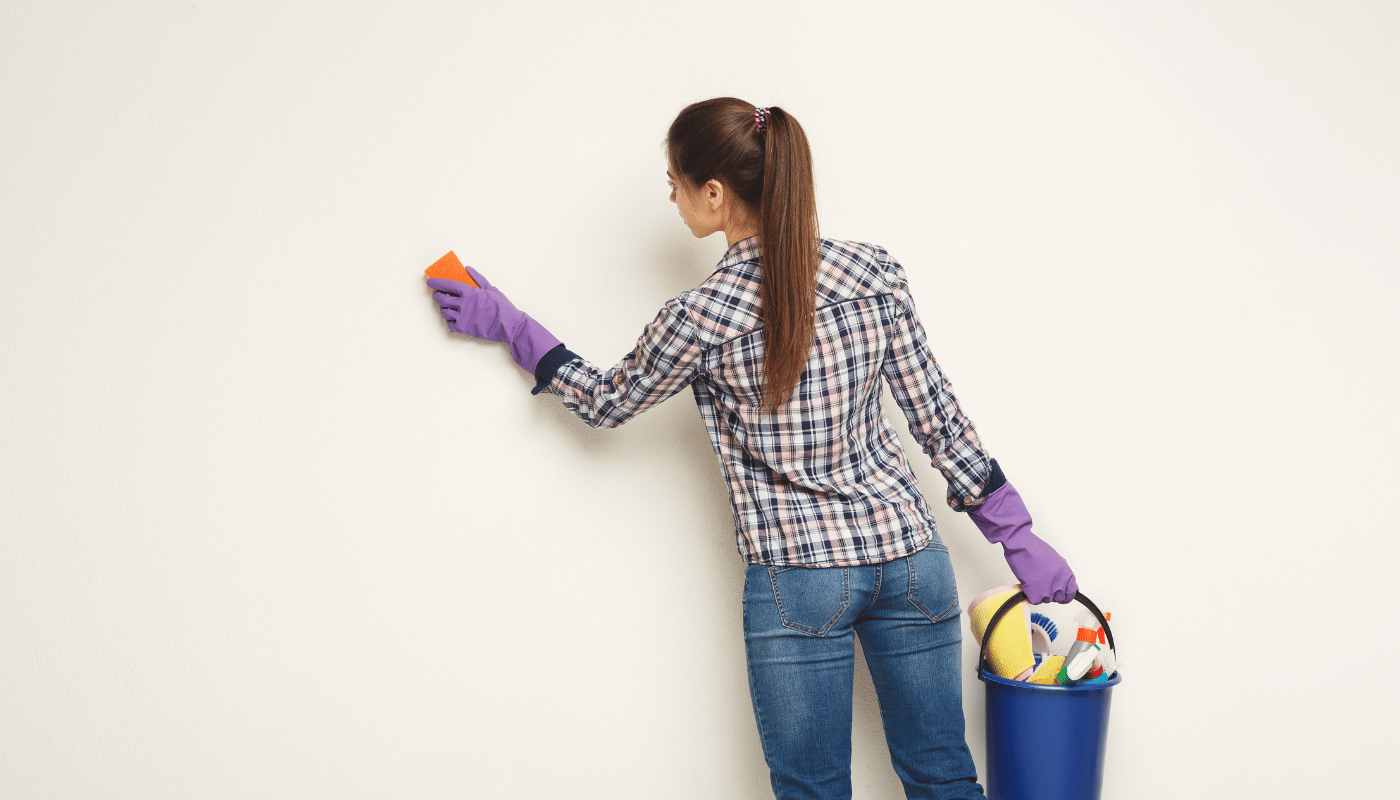
Step 6: Wash the Walls
With your walls sanded and smoothed, it’s time to clean away any grease, grime, or residue that could interfere with paint adhesion.
Sugar Soap for Deep Cleaning
- Why Sugar Soap?: Sugar soap is particularly effective at removing dirt and grease without leaving a residue.
- Preparation: Follow the package instructions to mix the sugar soap solution.
- Application: Using a soft, clean cloth, start at the top of each wall and work your way down. This ensures you catch any drips and prevents re-soiling cleaned areas.
Rinse Thoroughly
After washing with sugar soap:
- Rinse with Clean, Warm Water: Use a damp sponge or cloth to remove any remaining sugar soap residue.
- Let Dry Completely: Ensure the walls are fully dry before proceeding to paint, as any lingering moisture can cause paint to bubble or peel.
Safety Tip: Sugar soap can be harsh on skin and eyes, so wear gloves and goggles, and avoid splashes.
Step 7: Final Touches Before Painting
Before picking up a paintbrush, make sure your walls are truly ready for paint:
1. Patch and Fill Holes
- If you find any holes or cracks, fill them with spackling paste or a wall filler. Once dried, sand the patched areas to blend seamlessly with the wall.
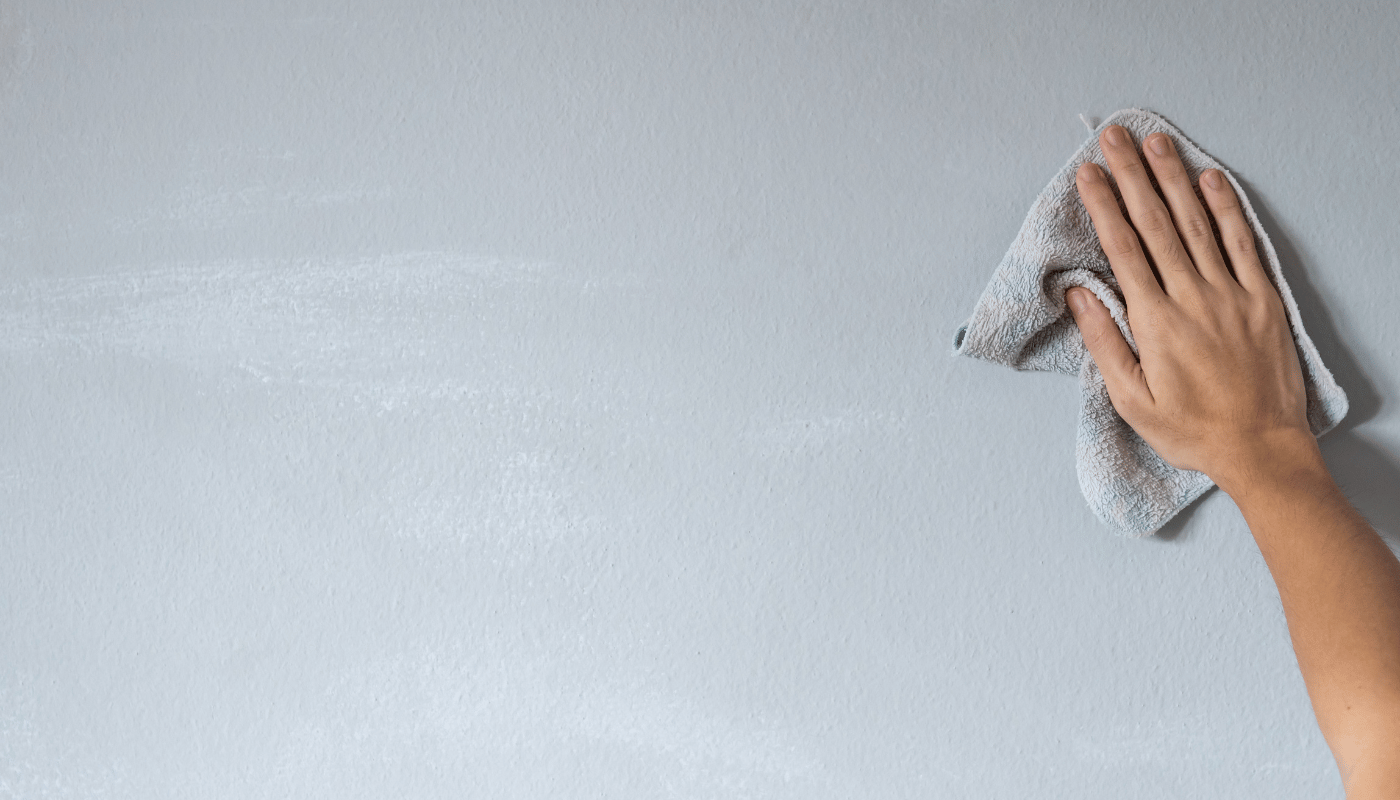
2. Inspect for Dust One Last Time
- Dust and debris can reappear, especially after sanding or filling. Give the walls one final wipe-down to remove any last particles.
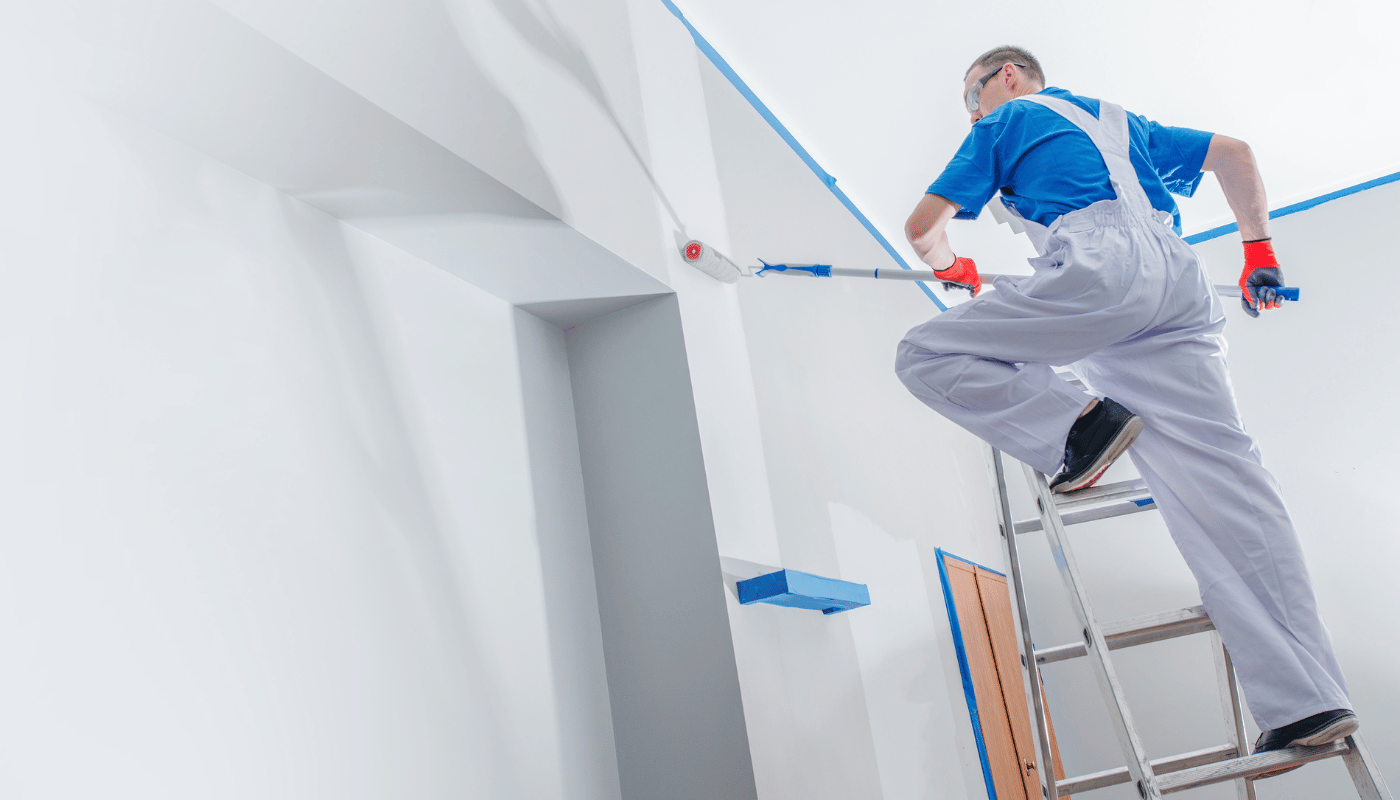
3. Tape Off Edges and Trim
- Use painter’s tape to protect trim, baseboards, and any other areas you don’t want painted.
Key Takeaways
- Cleaning walls is essential for both paint preparation and maintaining a fresh look.
- Effective techniques include dusting, inspecting for mould, sanding rough spots, and using sugar soap for deep cleaning.
- Properly cleaned walls improve paint adhesion and enhance the quality of the final paint job.
- The cleaning approach for painted walls depends on the finish; gentle methods are best to prevent damage.
- Regular wall cleaning can also improve indoor air quality by reducing accumulated pollutants.
Conclusion
Prepping walls for paint may seem like a hassle, but it’s well worth the effort for a stunning, lasting result.
By following these steps—covering furniture and floors, removing dust and dirt, treating mould, checking surface quality, sanding, removing wallpaper, and washing with sugar soap—you’ll set yourself up for a successful paint job.
Remember, patience and preparation are key, so take your time with each step, and enjoy the transformation of your freshly painted space!
This guide provides the knowledge you need to start your painting project with confidence and skill. With clean, prepped walls, you’ll achieve a professional-grade finish and enjoy the renewed ambiance of your beautifully painted room.
Happy painting!