Top 7 Important Things to Consider Before Painting Your Concrete Driveway

Painting Your Concrete Driveway? Here's the Top 7 Important Things to Consider Before You Start!
Painting your concrete driveway is an excellent way to boost your home's curb appeal and give it a fresh, clean look.
However, this project requires careful planning and attention to detail to achieve the best results.
Here are the Painters Newcastle top seven things you should consider before starting your driveway painting project:
1 - Assessing the Condition of the Concrete
Assessing the condition of your concrete driveway is a crucial first step before embarking on your painting project.
This evaluation ensures that any underlying issues are addressed, leading to a smooth and durable painted surface.
Here’s a detailed guide on how to thoroughly inspect and prepare your concrete driveway:
1. Thorough Inspection
Start with a comprehensive visual inspection of your driveway.
Walk the entire length of the driveway and closely examine the surface for the following:
- Cracks: Look for hairline fractures as well as larger cracks. Cracks can be caused by a variety of factors, including freeze-thaw cycles, settling of the ground, or heavy loads.
- Chips and Pitting: Check for areas where the surface has chipped away or shows signs of pitting. These can be caused by weathering, salt use during winter, or the natural aging of the concrete.
- Spalling: This is when the surface of the concrete starts to flake or peel away, often due to freeze-thaw cycles during the winter months.
- Stains and Discolouration: Identify any oil, grease, or other stains that might affect paint adhesion.
- Structural Damage: Look for any signs of significant structural issues, such as large, uneven areas, deep cracks, or areas where the concrete seems to have sunken or shifted.
2. Testing for Moisture
Before proceeding with repairs, it's essential to check for moisture issues, as moisture can cause paint to bubble and peel. Here’s how you can test for moisture:
- Plastic Sheet Test: Tape a clear plastic sheet (about 60cm by 60cm) to the driveway surface, sealing all edges. Leave it in place for 24 to 48 hours. After this period, check for condensation on the underside of the plastic or a darker appearance on the concrete. Presence of moisture indicates that the concrete is not yet dry enough for painting.
3. Addressing the Issues
Once you have identified the issues, it’s time to address them:
- Crack Repair: For hairline cracks, use a concrete crack filler or sealant. For larger cracks, you might need a more robust concrete patching compound. Clean out the cracks with a wire brush and remove any loose debris before applying the filler. Follow the manufacturer’s instructions for the application and curing time.
- Chips and Pitting Repair: Use a concrete resurfacer or patching compound to fill in any chips and pits. Apply the compound with a trowel, ensuring it is smooth and level with the surrounding surface.
- Spalling Repair: For spalled areas, remove any loose concrete and apply a resurfacing product. This often involves spreading a thin layer of the product over the entire affected area.
- Stain Removal: Clean stains thoroughly. For oil stains, use a degreaser and scrub the area with a stiff brush. Rinse thoroughly and allow to dry completely. Persistent stains might require multiple treatments.
4. Final Surface Preparation
After all repairs are complete, perform the following steps to ensure the surface is ready for painting:
- Cleaning: Clean the entire driveway with a pressure washer to remove any remaining dirt, debris, or residue from the repair products. Use a concrete cleaner if necessary.
- Etching: For older driveways or those that have a very smooth finish, consider etching the surface. This process involves applying an acid solution to create a rougher texture, which helps the paint adhere better. Follow safety guidelines and manufacturer instructions when handling and applying etching solutions.
- Drying: Allow the driveway to dry completely. This might take several days, depending on the weather conditions and the extent of the repairs.
By thoroughly assessing and preparing the condition of your concrete driveway, you lay the groundwork for a successful painting project. Properly addressing all issues ensures that the paint adheres well and provides a long-lasting, attractive finish.
This careful preparation helps prevent future problems and prolongs the life of your newly painted driveway.
2 - Weather Conditions
Weather conditions play a crucial role in the success of painting your concrete driveway.
The environment can significantly affect the application, adhesion, and drying process of the paint, ultimately determining the durability and appearance of the finished product.
Here’s how different weather elements impact your driveway painting project and how to plan around them:
1. Temperature
Ideal painting temperatures range from 10°C to 30°C.
Here’s why:
- Low Temperatures: Painting in temperatures below 10°C can cause the paint to thicken and not spread evenly. Cold weather also prolongs drying times, increasing the risk of the paint not curing properly.
- High Temperatures: Painting in temperatures above 30°C can cause the paint to dry too quickly, leading to blistering, cracking, or peeling. Rapid drying also makes it difficult to achieve a smooth, even finish.
2. Humidity
Humidity levels can also affect the painting process. High humidity slows down the drying process and can cause condensation to form on the surface, affecting paint adhesion. Ideally, the relative humidity should be below 85%.
- High Humidity: When the air is saturated with moisture, it can interfere with the paint's ability to bond to the concrete surface. This can result in a blotchy finish and reduce the durability of the paint.
- Low Humidity: Extremely low humidity can cause the paint to dry too quickly, similar to high temperatures, leading to potential issues with the finish and adhesion.
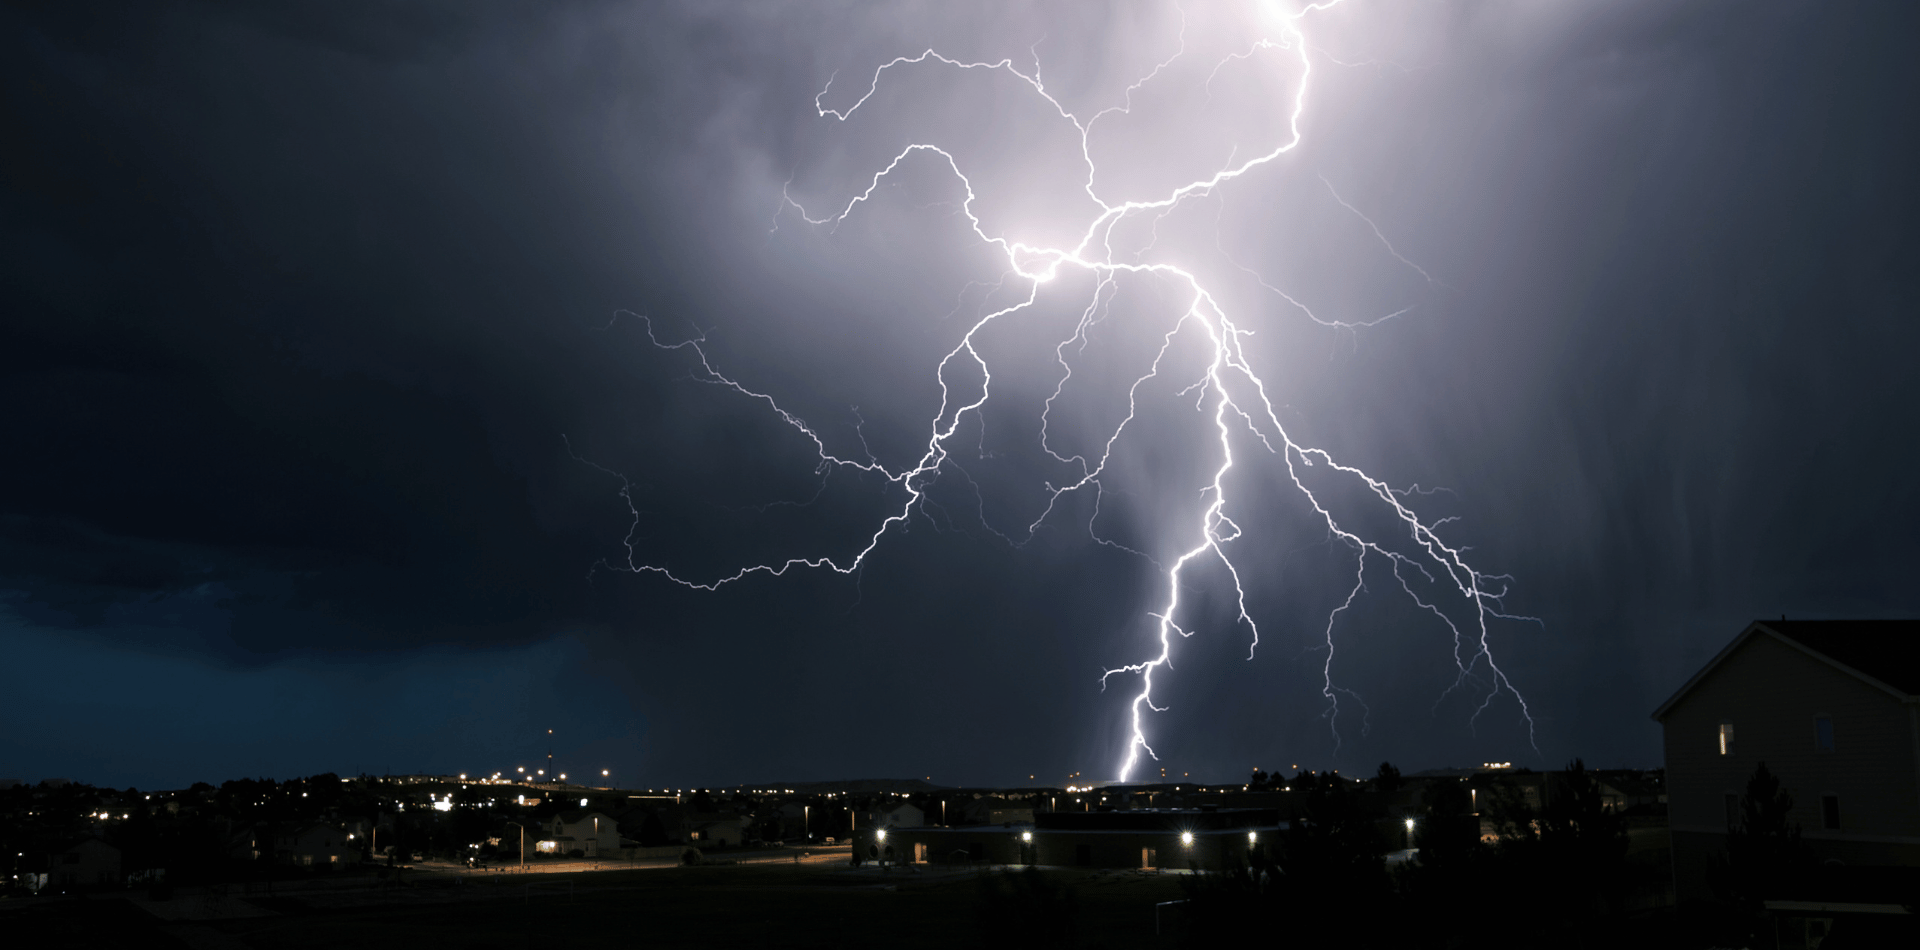
3. Rain and Moisture
Rain is a major concern when painting concrete:
- Rain Forecast: Avoid painting if rain is forecasted within 24 hours before or after your painting session. Rain can wash away uncured paint, cause streaks, and prevent proper adhesion.
- Dew and Moisture: Early morning dew or overnight moisture can also affect the painting process. Ensure that the concrete surface is completely dry before starting to paint.
4. Wind Conditions
Wind can be a double-edged sword in painting projects:
- Light Breezes: Light winds can be beneficial as they help the paint dry at a steady rate.
- Strong Winds: Strong winds, however, can blow debris onto the wet paint, ruin the finish, and cause the paint to dry too quickly.
5. Time of Day
Choosing the right time of day to paint is essential for managing temperature and humidity:
- Early Morning and Late Afternoon: These times are usually cooler and more stable in terms of temperature and humidity. Painting during these periods helps avoid the peak heat of the day and reduces the risk of rapid drying and adhesion issues.
- Midday: Midday, especially in the summer, can be too hot, causing the paint to dry too quickly and potentially leading to application problems.
6. Seasonal Considerations
Different seasons present unique challenges and advantages for painting your driveway:
- Spring: Spring often has moderate temperatures and lower humidity, making it a good time for painting. However, be mindful of spring showers.
- Summer: Summer provides longer daylight hours, but the heat can be intense. Aim to paint early in the morning or late in the afternoon.
- Autumn: Autumn typically offers mild temperatures, but the days get shorter, and the risk of early morning dew increases. Plan to paint during midday when conditions are most favourable.
- Winter: Winter is generally not ideal due to low temperatures and higher humidity levels, which can impede the painting process and affect the paint's performance.
Planning and Monitoring
To ensure the best outcome for your painting project, consider the following steps:
- Weather Forecasting: Regularly check the weather forecast leading up to your planned painting day. Look for a stretch of dry, mild weather to give your paint the best chance to adhere and cure properly.
- Moisture Test: Before painting, conduct a moisture test on your driveway. Tape a clear plastic sheet to the surface and leave it for 24 hours. If condensation forms under the plastic, wait for drier conditions.
- Temperature and Humidity Gauges: Use a thermometer and hygrometer to monitor the temperature and humidity levels at the painting site. This helps you ensure that conditions remain within the ideal range throughout the painting process.
By carefully considering and planning around weather conditions, you can significantly improve the quality and durability of your painted concrete driveway. Proper timing and preparation ensure that the paint adheres correctly and cures as intended, providing a beautiful and long-lasting finish.
3 - Type of Paint
Choosing the right type of paint for your concrete driveway is a crucial step in ensuring a durable and attractive finish.
The right paint not only enhances the appearance of your driveway but also provides protection against the elements and wear from vehicle traffic.
Here’s why selecting the best paint for your concrete driveway:
1. Types of Paint Suitable for Concrete Driveways
There are several types of paints and coatings specifically formulated for concrete surfaces.
Here are the most common ones:
- Concrete Paint: This is a water-based paint designed for concrete surfaces. It’s easy to apply and clean up and provides a durable finish. Concrete paint comes in a variety of colours and finishes, allowing for customisation to match your home’s exterior.
- Epoxy Paint: Epoxy paint is known for its exceptional durability and resistance to chemicals, stains, and abrasion. It’s a two-part system consisting of a resin and a hardener, which are mixed before application. Epoxy paint is ideal for high-traffic areas like driveways due to its strength and longevity.
- Acrylic Paint: Acrylic paint is another option for concrete surfaces. It offers good durability and flexibility, making it resistant to cracking and peeling. It’s also available in a wide range of colours and finishes.
- Polyurethane Coatings: Polyurethane coatings are often used as a topcoat over other types of paint. They provide an additional layer of protection against UV rays, chemicals, and physical wear.
2. Factors to Consider When Choosing Paint
When selecting the paint for your driveway, consider the following factors:
- Durability: The paint needs to withstand heavy vehicle traffic, weather conditions, and daily wear and tear. Epoxy and polyurethane coatings are particularly known for their durability.
- Adhesion: Ensure the paint is formulated for concrete surfaces to guarantee proper adhesion. Poor adhesion can lead to peeling and chipping over time.
- Weather Resistance: Choose a paint that can withstand various weather conditions, including rain and intense sunlight. UV-resistant paints prevent fading and deterioration caused by sun exposure.
- Chemical Resistance: Driveways are often exposed to chemicals like oil, gasoline, and cleaning agents. A paint with high chemical resistance will maintain its appearance and integrity longer.
- Ease of Application: Some paints are easier to apply than others. Water-based concrete paints are typically easier to work with and clean up, while epoxy paints require more careful mixing and application but offer superior durability.
- Colour and Finish Options: Select a paint that offers the desired aesthetic. Some paints come in a variety of colours and finishes, including matte, satin, and gloss, allowing you to customise the look of your driveway.
3. Preparing the Surface
Proper surface preparation is essential for the paint to adhere well and last long.
Here’s how to prepare your driveway before painting:
- Cleaning: Remove all dirt, debris, and stains from the surface using a pressure washer and a concrete cleaner or degreaser. Make sure the surface is completely clean and free of any contaminants.
- Etching: For smooth concrete surfaces, etching is necessary to create a rough texture that helps the paint adhere better. Use a concrete etching solution and follow the manufacturer’s instructions.
- Repairing: Fill any cracks, holes, or imperfections with a suitable concrete filler. Allow the repairs to cure fully before proceeding with painting.
- Priming: Applying a primer designed for concrete surfaces enhances paint adhesion and durability. Choose a primer compatible with your selected paint type.
4. Application Techniques
Applying the paint correctly is crucial for achieving a smooth and long-lasting finish:
- Mixing: For paints that require mixing, such as epoxy, follow the manufacturer’s instructions carefully. Ensure the resin and hardener are thoroughly mixed to avoid application issues.
- Tools: Use high-quality brushes and rollers designed for textured surfaces. For large areas, consider using a paint sprayer for more even coverage.
- Coats: Apply the paint in thin, even coats. Multiple thin coats are better than one thick coat, as they ensure better adhesion and durability. Allow sufficient drying time between coats as recommended by the manufacturer.
- Weather Conditions: Paint during ideal weather conditions, avoiding extreme temperatures and high humidity, to ensure proper drying and curing of the paint.
5. Maintenance and Reapplication
To maintain the appearance and longevity of your painted driveway, follow these maintenance tips:
- Regular Cleaning: Clean the driveway regularly with mild soap and water to remove dirt, debris, and stains.
- Avoid Harsh Chemicals: Avoid using harsh chemicals or abrasive cleaners that can damage the paint.
- Touch-Ups: Inspect the driveway periodically for any signs of wear or damage. Touch up small areas as needed to prevent further deterioration.
- Reapplication: Depending on the type of paint and the level of wear, you may need to reapply the paint or a topcoat every few years to maintain its appearance and protection.
By choosing the right type of paint and following proper preparation and application techniques, you can achieve a beautiful and durable finish for your concrete driveway that enhances your home's curb appeal and withstands the test of time.
4 - Surface Preparation
Proper surface preparation is perhaps the most critical step when painting your concrete driveway.
Ensuring the surface is clean, dry, and free of contaminants will significantly enhance paint adherence and durability.
1. Cleaning the Surface
A clean surface is essential for good paint adhesion.
Here's how to achieve a spotless driveway:
- Remove Loose Debris: Begin by sweeping the driveway with a broom to remove loose dirt, leaves, and other debris.
- Pressure Washing: Use a pressure washer to thoroughly clean the concrete surface. This helps to remove embedded dirt and any loose particles. For best results, use a pressure washer to ensure deep cleaning.
- Concrete Cleaner or Degreaser: Apply a concrete cleaner or degreaser to tackle stubborn stains, oil, and grease spots. Spread the cleaner evenly using a stiff brush and scrub the areas vigorously. Follow the manufacturer's instructions for the recommended dwell time to let the cleaner penetrate and break down the stains. After scrubbing, rinse the surface thoroughly with the pressure washer.
2. Removing Previous Coatings
If your driveway has old paint or sealant, it's crucial to remove these coatings to ensure the new paint adheres properly:
- Paint Stripper: Use a concrete paint stripper to remove old paint. Apply the stripper according to the manufacturer's instructions and allow it to sit for the specified time. Scrape off the loosened paint using a paint scraper or putty knife. Repeat the process if necessary to remove all layers of paint.
- Grinding: For large areas or stubborn coatings, consider using a concrete grinder. This tool grinds away the top layer of the concrete, removing old paint and creating a smooth, clean surface. Wear protective gear, including a dust mask and goggles, to protect yourself from dust and debris.
3. Repairing Imperfections
Inspect the surface for any cracks, holes, or other imperfections and repair them before painting:
- Crack Filling: Use a high-quality concrete crack filler for small to medium-sized cracks. Clean the cracks thoroughly and apply the filler using a caulking gun or trowel. Smooth the surface with a putty knife and allow it to cure as per the manufacturer's instructions.
- Patching: For larger holes or spalling, use a concrete patching compound. Mix the compound according to the instructions and apply it to the damaged areas using a trowel. Ensure the patched areas are level with the surrounding surface. Allow the patch to cure completely before proceeding.
4. Etching the Surface
Etching the concrete is essential, especially for smooth surfaces, as it creates a rough texture that improves paint adhesion:
- Etching Solution: Use a concrete etching solution (typically muriatic acid or a commercial concrete etcher). Dilute the solution according to the manufacturer's instructions.
- Application: Apply the etching solution evenly across the entire surface using a plastic watering can or a sprayer. Work in small sections to ensure even coverage.
- Scrubbing: Use a stiff-bristled brush to scrub the solution into the concrete, focusing on any particularly smooth areas.
- Rinsing: After etching, rinse the surface thoroughly with clean water to remove all traces of the acid. Use a pressure washer to ensure all residue is washed away. Allow the surface to dry completely before moving to the next step.
5. Priming the Surface
Priming helps to seal the concrete and provides a better base for the paint to adhere to:
- Choose the Right Primer: Select a primer that is compatible with your concrete paint. An epoxy-based primer is often recommended for its strong adhesion properties.
- Application: Apply the primer using a roller with a long handle for easy application. For edges and corners, use a brush. Ensure an even, thin coat and avoid pooling. Follow the manufacturer's instructions for drying times and the number of coats required.
- Drying Time: Allow the primer to dry completely. This can take several hours or even a day, depending on the product and weather conditions. Ensure that the surface is completely dry before applying the paint.
6. Final Surface Check
Before you start painting, perform a final check:
- Dryness: Ensure the surface is completely dry. Moisture trapped under the paint can cause bubbling and peeling.
- Cleanliness: Make sure there are no dust particles, debris, or leaves on the surface. A final sweep or rinse may be necessary.
- Smoothness: The surface should be smooth and free of any rough patches or imperfections. Any remaining flaws can affect the finish of the paint.
By meticulously preparing the surface, you set the stage for a successful and durable paint job. Proper surface preparation ensures that the paint adheres well, providing a smooth, attractive, and long-lasting finish for your concrete driveway.

5 - Priming the Surface
Priming is a critical step in the process of painting your concrete driveway, significantly enhancing the paint’s adhesion, durability, and overall finish.
Here’s why priming is essential and how to do it correctly:
1. Importance of Priming
Priming the concrete surface before painting offers several benefits:
- Enhanced Adhesion: Primer creates a bonding layer between the concrete and the paint, ensuring that the paint adheres better to the surface.
- Sealing the Surface: Concrete is porous, which means it can absorb moisture and other substances. Primer seals these pores, reducing the porosity and preventing the paint from being absorbed unevenly.
- Uniform Surface: Primer helps to create a smooth, uniform surface, which is essential for an even paint application. It can also cover minor imperfections, making the paint job look more professional.
- Durability: A good primer increases the longevity of the paint by providing a stable base. It helps the paint withstand weather conditions, UV rays, and the wear and tear of daily use.
2. Choosing the Right Primer
Selecting the appropriate primer is crucial for the success of your painting project:
- Compatibility: Ensure that the primer is compatible with both the concrete surface and the paint you plan to use. For instance, if you are using an epoxy paint, choose an epoxy-based primer.
- Type of Primer: There are several types of primers available, including acrylic primers, epoxy primers, and polyurethane primers. Each type has its advantages:
- Acrylic Primers: These are water-based and easy to apply. They are suitable for most concrete surfaces and provide good adhesion and durability.
- Epoxy Primers: These offer superior adhesion and durability, making them ideal for high-traffic areas like driveways. They are resistant to chemicals, moisture, and abrasion.
- Polyurethane Primers: These provide excellent protection against UV rays and are highly durable. They are often used as a topcoat for added protection.
3. Surface Preparation
Before applying the primer, ensure that the surface is properly prepared:
- Clean and Dry: The surface should be clean, dry, and free of any dust, debris, oils, or previous coatings. Use a pressure washer and a concrete cleaner or degreaser to clean the surface thoroughly. Allow it to dry completely.
- Repair and Etch: Repair any cracks or imperfections and etch the surface if necessary to create a rough texture for better primer adhesion. Allow any repairs to cure fully.
4. Applying the Primer
Follow these steps for effective primer application:
- Tools and Materials: Gather the necessary tools, including a roller with a long handle, brushes for edges and corners, a paint tray, and protective gear like gloves and safety glasses.
- Mixing: If the primer requires mixing, follow the manufacturer’s instructions carefully. Some primers come pre-mixed, while others may need to be stirred or mixed with a hardener.
- Application:
- Pour the primer into a paint tray.
- Start by cutting in the edges and corners with a brush. This ensures that hard-to-reach areas are covered.
- Use a roller to apply the primer evenly across the main surface. Work in small sections to maintain a wet edge and avoid lap marks.
- Apply a thin, even coat. Avoid overloading the roller, as this can lead to drips and uneven application.
- Coverage: Check the primer’s coverage rate (usually indicated on the can) to ensure you have enough product for your driveway. It’s better to have a bit extra than to run out midway through the project.
- Drying Time: Allow the primer to dry completely according to the manufacturer’s instructions. This can vary depending on the type of primer and weather conditions. Typically, it takes several hours to a full day. Ensure the surface is dry before proceeding to paint.
5. Multiple Coats
Depending on the condition of the concrete and the type of primer, you may need to apply multiple coats:
- First Coat: The first coat of primer acts as a sealer, penetrating and sealing the concrete surface.
- Second Coat: If recommended, apply a second coat for enhanced adhesion and durability. Allow the first coat to dry completely before applying the second coat.
6. Inspection and Final Preparation
Before applying the paint, inspect the primed surface:
- Smoothness: Ensure the surface is smooth and free of any imperfections. Lightly sand any rough spots if necessary.
- Cleanliness: Make sure there is no dust or debris on the surface. A clean, smooth surface is essential for the paint to adhere properly.
By properly priming your concrete driveway, you create a stable, sealed surface that ensures better paint adhesion and durability. This step is crucial for achieving a professional-looking, long-lasting finish that can withstand the elements and daily wear. Taking the time to prime correctly can make a significant difference in the quality and longevity of your painted driveway.
6 - Application Technique
The technique you use to apply paint to your concrete driveway is crucial for achieving a smooth, durable, and aesthetically pleasing finish.
Proper application ensures even coverage, enhances adhesion, and prolongs the life of the paint.
1. Selecting the Right Tools
Using the correct tools is essential for a professional-looking finish:
- High-Quality Brushes: Choose brushes with synthetic bristles that are designed for rough surfaces. These are ideal for cutting in edges and reaching tight spots where rollers or sprayers can’t easily go.
- Rollers: Use rollers with a thick nap (2 to 2.5cm) to cover the rough texture of concrete effectively. High-quality rollers help in applying the paint evenly and reduce the chances of leaving streaks or roller marks.
- Paint Sprayer: For large driveways, a paint sprayer can provide a more uniform and efficient coverage. Sprayers are especially useful for achieving a smooth finish without brush or roller marks.
2. Preparing the Paint
Properly preparing the paint before application is crucial:
- Mix Thoroughly: Stir the paint thoroughly to ensure an even consistency and to mix any settled pigments. If you are using a two-part epoxy paint, mix the resin and hardener according to the manufacturer’s instructions.
- Strain the Paint: Straining the paint through a paint strainer helps to remove any lumps or impurities, ensuring a smooth application.
3. Cutting in Edges and Corners
Begin by cutting in the edges and corners:
- Brush Application: Use a high-quality brush to apply paint to the edges, corners, and around any obstacles such as drains or expansion joints. This step ensures that these areas are well-covered and helps to create clean lines.
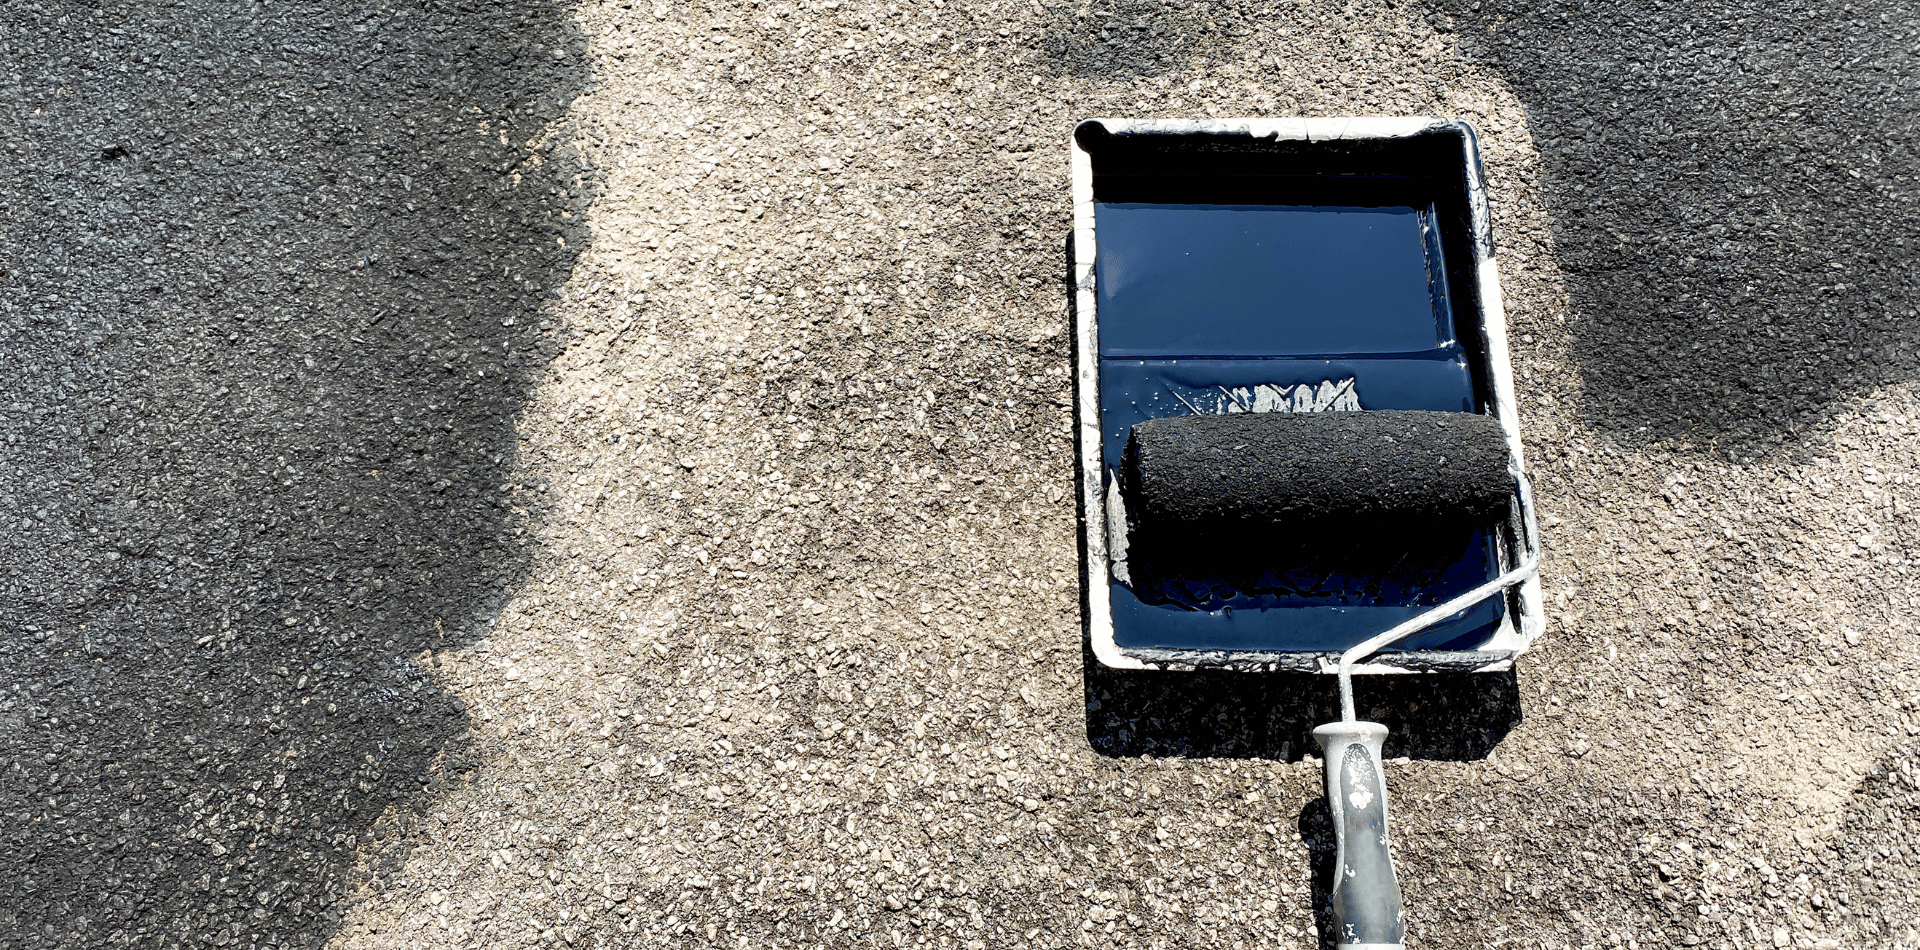
4. Rolling the Main Surface
Once the edges and corners are done, move on to the main surface:
- Rolling Technique: Pour the paint into a paint tray and load the roller evenly. Start from one end of the driveway and work your way to the other end. Apply the paint in a W or M pattern to distribute it evenly, then backroll to smooth out the coverage. This technique helps to avoid lines and ensures a uniform finish.
- Thin, Even Coats: Apply the paint in thin, even coats. Thick coats can lead to uneven drying and poor adhesion. Multiple thin coats provide better coverage and durability.
5. Using a Paint Sprayer
For large driveways, using a paint sprayer can save time and provide a more consistent finish:
- Setup: Set up the sprayer according to the manufacturer’s instructions. Adjust the spray pattern and pressure to achieve a fine, even mist.
- Application: Hold the sprayer at a consistent distance (usually 30 to 45 cm) from the surface and move it in smooth, overlapping strokes. Work in sections to ensure even coverage and avoid overspray.
6. Drying and Recoat Times
Allowing proper drying and recoat times is essential for a durable finish:
- Drying Time: Follow the manufacturer’s guidelines for drying times between coats. This can vary depending on the type of paint, temperature, and humidity. Typically, it takes 4 to 6 hours for each coat to dry, but it can be longer in cooler or more humid conditions.
- Recoat Time: Apply the second coat only after the first coat has dried completely. This helps to prevent lifting or peeling of the first coat and ensures better adhesion of the second coat.
7. Applying the Second Coat
After the first coat has dried, apply the second coat for optimal coverage and durability:
- Second Coat Application: Follow the same technique as the first coat. Ensure that the application is smooth and even, with no streaks or thick spots. The second coat helps to cover any missed areas and provides a more robust protective layer.
8. Final Inspection and Touch-Ups
After the second coat has dried, perform a final inspection:
- Inspection: Check the surface for any missed spots, streaks, or imperfections. Ensure that the coverage is uniform and the finish is smooth.
- Touch-Ups: Use a brush or roller to touch up any areas that need additional coverage. Allow these touch-ups to dry completely before using the driveway.
9. Curing Time
Allow the painted surface to cure fully before exposing it to traffic:
- Curing Time: The paint needs time to cure and harden completely. This can take several days to a week, depending on the paint type and weather conditions. Avoid driving on the painted surface during this time to prevent damage.
- Protection: If possible, block off the driveway to prevent accidental foot or vehicle traffic during the curing period.
By following these detailed application techniques, you can achieve a professional-quality finish on your concrete driveway that is both durable and visually appealing. Proper application not only enhances the look of your driveway but also ensures that the paint will withstand the rigors of daily use and exposure to the elements.
7- Maintenance
Maintaining your painted concrete driveway is essential for preserving its appearance, functionality, and durability.
Regular upkeep helps prevent wear and tear, extends the lifespan of the paint, and keeps your driveway looking pristine.
Here’s how to properly maintain your painted driveway:
1. Initial Care After Painting
Proper care immediately after painting is crucial for the longevity of the finish:
- Avoid Driving: Refrain from driving on the freshly painted surface for the time recommended by the paint manufacturer, usually at least 24 to 48 hours. This allows the paint to cure properly and prevents damage.
- Foot Traffic: Limit foot traffic for at least 24 hours or as advised. While light foot traffic is less likely to cause damage than vehicles, it’s best to allow ample time for curing.
2. Regular Cleaning
Keeping your driveway clean is vital for maintaining its appearance and protecting the paint:
- Sweeping: Regularly sweep the driveway with a broom to remove loose dirt, leaves, and debris. This prevents abrasive particles from scratching the painted surface.
- Washing: Periodically wash the driveway with mild soap and water. Use a soft-bristled brush or a mop to scrub the surface gently. Avoid harsh chemicals or abrasive cleaning tools that can damage the paint.
- Pressure Washing: For deep cleaning, use a pressure washer with a low to medium setting. Maintain a safe distance to avoid stripping the paint. Use a fan nozzle for an even, gentle spray.
3. Stain Removal
Addressing stains promptly helps to maintain the aesthetics and integrity of the painted surface:
- Oil and Grease Stains: For oil or grease stains, use a concrete degreaser or a mixture of dish soap and warm water. Scrub the stained area with a soft brush and rinse thoroughly.
- Chemical Spills: Clean up any chemical spills immediately using appropriate cleaning agents. Avoid letting chemicals sit on the surface, as they can penetrate the paint and cause discoloration or damage.
4. Inspecting for Damage
Regular inspections help identify and address minor issues before they become major problems:
- Cracks and Chips: Periodically inspect the driveway for any cracks, chips, or peeling paint. Small issues can be repaired promptly to prevent further damage.
- Surface Wear: Look for signs of wear in high-traffic areas. Pay attention to areas where vehicles turn or park, as these spots are more prone to wear.
5. Touch-Up Painting
Touching up minor damage helps maintain the overall appearance and protect the underlying concrete:
- Small Repairs: For small chips or scratches, clean the area thoroughly and apply a matching paint using a brush. Allow the touch-up to dry completely before using the driveway.
- Repainting Sections: For larger worn or damaged areas, consider repainting the entire section. Follow the same application techniques as the original painting to ensure a seamless finish.
6. Sealing the Surface
Applying a sealer provides an additional layer of protection and enhances the durability of the paint:
- Choosing a Sealer: Select a high-quality sealer that is compatible with your paint type. Sealers can be clear or tinted, depending on your preference.
- Application: Clean the driveway thoroughly before applying the sealer. Use a roller or sprayer to apply an even coat. Follow the manufacturer’s instructions for drying and curing times.
- Frequency: Depending on the sealer and the level of wear, you may need to reapply the sealer every 1 to 3 years.
7. Seasonal Maintenance
Different seasons bring unique challenges that require specific maintenance actions:
- Winter Care: Avoid using harsh de-icing chemicals, as they can damage the paint. Instead, use sand or cat litter for traction.
- Summer Care: In hot climates, avoid parking on the driveway immediately after long drives to prevent tyre marks from hot tyres. Regularly rinse the driveway to remove dust and dirt.
8. Repainting the Driveway
Over time, even well-maintained paint will show signs of aging. Repainting ensures continued protection and a fresh appearance:
- Preparation: Clean the driveway thoroughly and repair any damage. Strip any loose or peeling paint using a paint stripper or grinder.
- Priming and Painting: Apply primer if needed, then repaint the surface following the original application techniques. Ensure proper drying and curing times for the best results.
9. Protecting the Driveway
Taking additional measures to protect your painted driveway can prolong its life:
- Mats and Pads: Use mats or pads under parked vehicles to prevent tyre marks and oil drips. Place protective mats under bicycles, motorcycles, and other equipment.
- Barrier Protection: If possible, create barriers to protect the driveway from heavy equipment or excessive weight. Use caution when using tools or machinery near the painted surface.
By following these seven key considerations, you can ensure that your painted concrete driveway will not only look great but will also endure the test of time and use.
Remember, taking the time to do the job right will save you time and money in the long run by avoiding premature repairs or repaints.
Get intouch with us at Painters Newcastle for more experts tips.