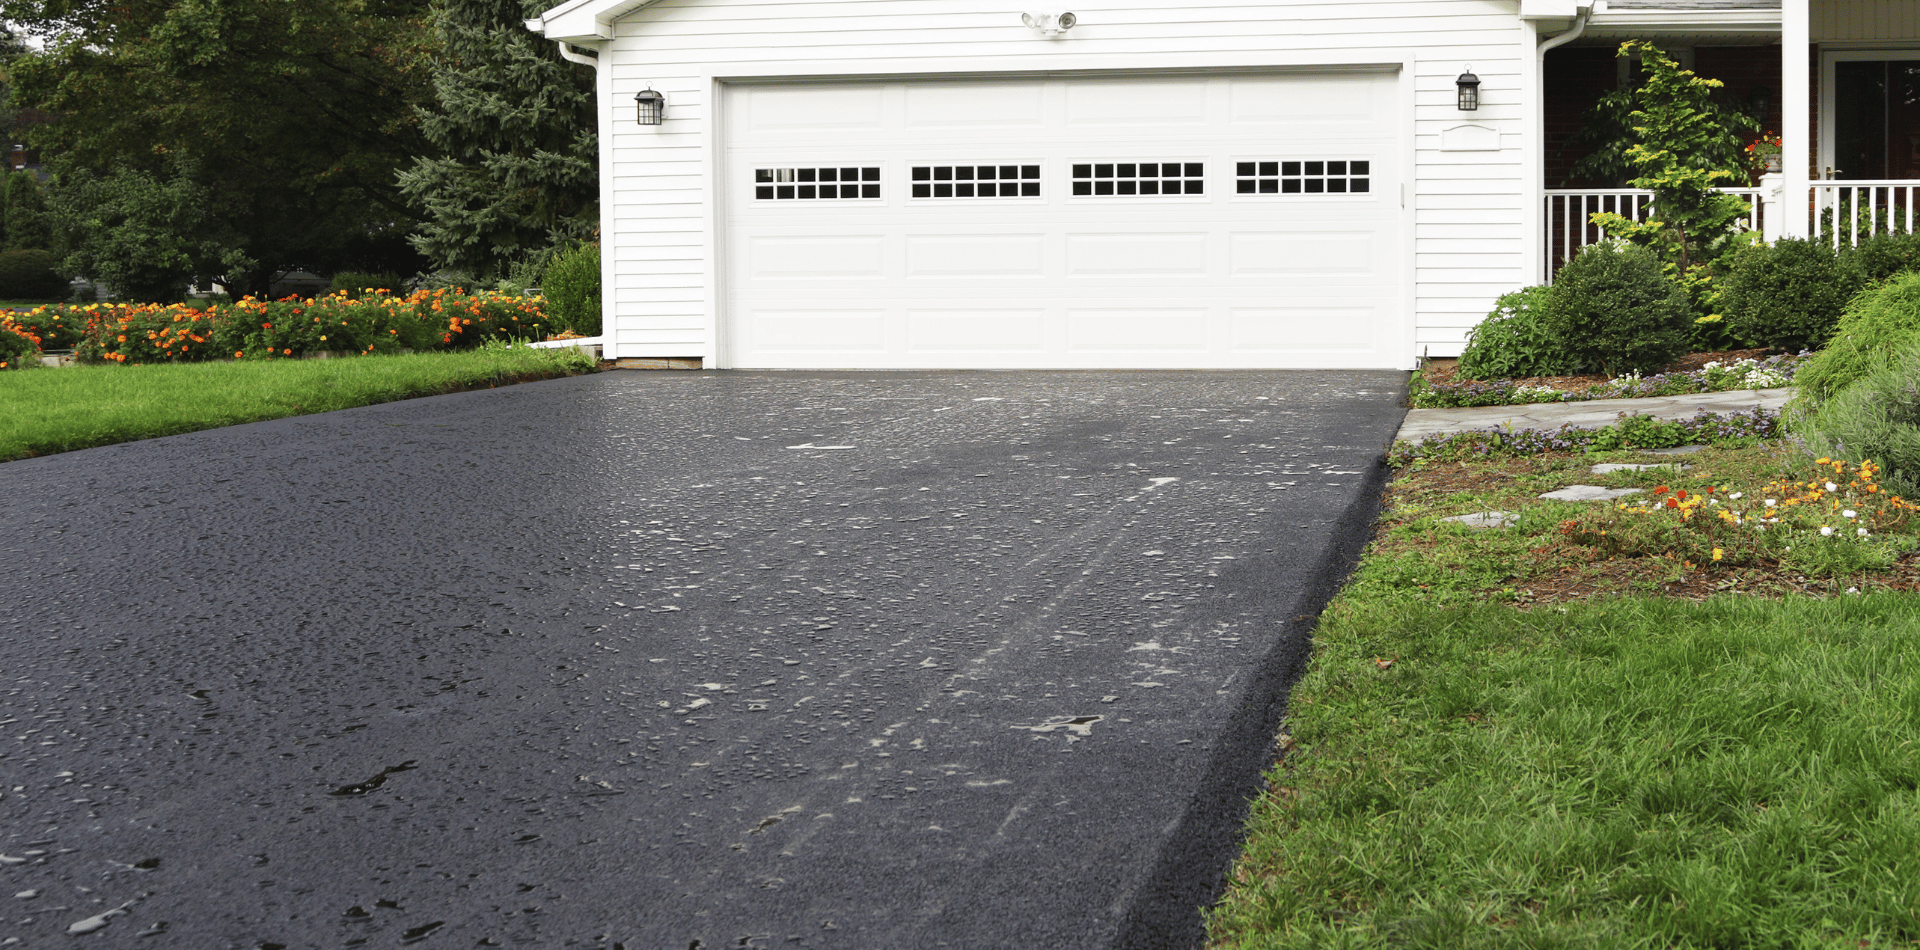
You've Just Had Your Driveway Painted.
Here's Some Essential Maintenance Tips to Keep It Pristine.

Painting your concrete driveway can transform its appearance, adding street appeal and enhancing your home's overall aesthetic.
However, to ensure that your newly painted driveway maintains its pristine look and longevity, proper maintenance is crucial.
Here are the most important steps to follow after painting your concrete driveway:
Initial Care Post-Painting
Avoid Immediate Use
- Drying Time: After painting, it is vital to allow the paint to dry completely before using the driveway. Follow the manufacturer's recommended drying time, typically at least 24 to 48 hours for foot traffic and 72 hours for vehicle traffic.
- Curing Period: The paint requires a curing period, during which it hardens and reaches its maximum durability. Avoid heavy use and parking vehicles on the driveway for at least a week.
Protecting the Surface
- Barriers: Use barriers such as cones or tape to block off the driveway and prevent accidental use during the drying and curing periods.
- Signage: Place signs to inform visitors and household members that the driveway is freshly painted and should not be used.
Regular Cleaning
Sweeping
- Frequency: Sweep the driveway regularly to remove loose dirt, leaves, and debris. This prevents abrasive particles from scratching the painted surface.
- Tools: Use a soft-bristled broom for routine cleaning to avoid damaging the paint.
Washing
- Mild Soap and Water: Wash the driveway periodically with mild soap and water to remove dirt and grime. Use a soft-bristled brush or a mop to scrub gently.
- Pressure Washing: For deeper cleaning, use a pressure washer set to a low to medium setting. Maintain a safe distance to avoid stripping the paint. A fan nozzle provides an even, gentle spray.
Stain Removal
- Oil and Grease Stains: Clean oil and grease stains promptly using a concrete degreaser or a mixture of dish soap and warm water. Scrub the stained area with a soft brush and rinse thoroughly.
- Chemical Spills: Address chemical spills immediately to prevent them from penetrating the paint and causing damage. Use appropriate cleaning agents and rinse well.
Inspecting for Damage
Regular Inspections
- Cracks and Chips: Regularly inspect the driveway for any cracks, chips, or peeling paint. Identifying and repairing minor damage early can prevent it from worsening.
- Surface Wear: Look for signs of wear, especially in high-traffic areas where vehicles turn or park.
Touch-Up Painting
- Minor Repairs: For small chips or scratches, clean the area thoroughly and apply a matching paint using a brush. Allow the touch-up paint to dry completely before using the driveway.
- Repainting Sections: For larger worn or damaged areas, consider repainting the entire section. Follow the same application techniques as the original painting for a seamless finish.
Sealing the Surface
Choosing a Sealer
- Type of Sealer: Select a high-quality sealer that is compatible with your paint type. Sealers can be clear or tinted, depending on your preference.
Application Process
- Preparation: Clean the driveway thoroughly before applying the sealer. Remove any dirt, debris, and stains.
- Application: Use a roller or sprayer to apply an even coat of sealer. Follow the manufacturer's instructions for drying and curing times.
- Frequency: Depending on the sealer and the level of wear, you may need to reapply the sealer every 1 to 3 years to maintain protection and appearance.
Seasonal Maintenance
Winter Care
- De-Icing: Although we don't get many days which cause heavy frosts, be aware of using harsh chemicals to remove any slippery frost/ice, as they can damage the paint. Use sand or cat litter for traction instead.
Summer Care
- Heat Management: In hot climates, avoid parking on the driveway immediately after long drives to prevent tire marks from hot tires.
- Regular Rinsing: Rinse the driveway regularly to remove dust and dirt accumulated during dry periods.
Repainting the Driveway
When to Repaint
- Signs of Wear: Over time, even well-maintained paint will show signs of aging. Look for faded colour, peeling, or worn areas as indicators that it’s time to repaint.
Preparation for Repainting
- Surface Cleaning: Clean the driveway thoroughly and repair any damage. Strip any loose or peeling paint using a paint stripper or grinder.
- Priming and Painting: Apply primer if needed, then repaint the surface following the original application techniques. Ensure proper drying and curing times for the best results.
Protecting the Driveway
Using Mats and Pads
- Under Vehicles: Place mats or pads under parked vehicles to prevent tyre marks and oil drips.
- Under Equipment: Use protective mats under bicycles, motorcycles, and other equipment to prevent scratches and stains.
Creating Barriers
- Heavy Equipment: Protect the driveway from heavy equipment or excessive weight. Create barriers or use caution when using tools or machinery near the painted surface.
By following these maintenance practices, you can keep your painted concrete driveway looking great and performing well for years to come.
Regular care, timely touch-ups, and protective measures will help maintain its appearance and protect your investment, ensuring a beautiful and durable surface.


