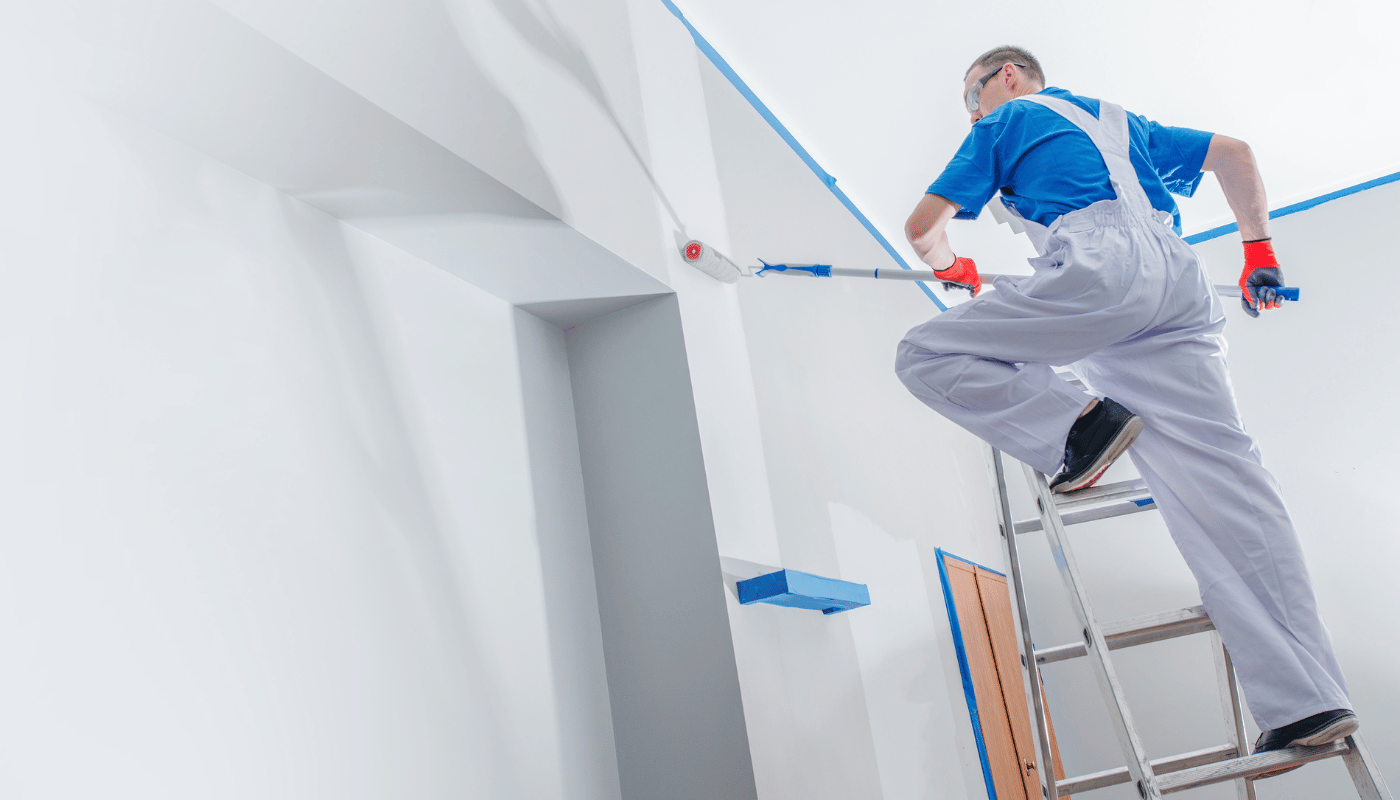
Tips for Repairing your Property After Water Damage
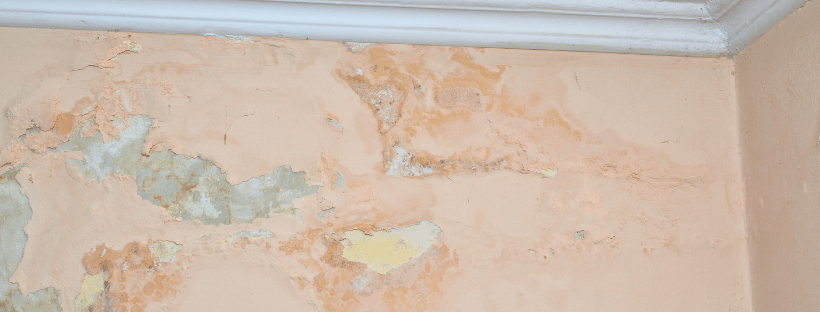
Repairing a Water Damaged Home can be summarised in these 7 Steps:
- Clean The Area. Before you start a project like this, give the water damaged area a good clean.
- Clear And Scrape Any Flaking In The Area.
- Cover Water Damaged Area With A Peel-Stop / Sealer Binder.
- Apply Filler.
- Sand Surface.
- Apply Water-based Primer / Sealer.
- Apply Paint.
If you have had water damage in your home, here's some important information you need to know.
Turn off or isolate the water source and turn off the electricity.
Where do you start?
Firstly, assess the damage and start the water damage repair as soon as possible. It's important to do it quickly! Wet materials start developing very serious problems like mold after around 24 hours.
You don't have time to wait.
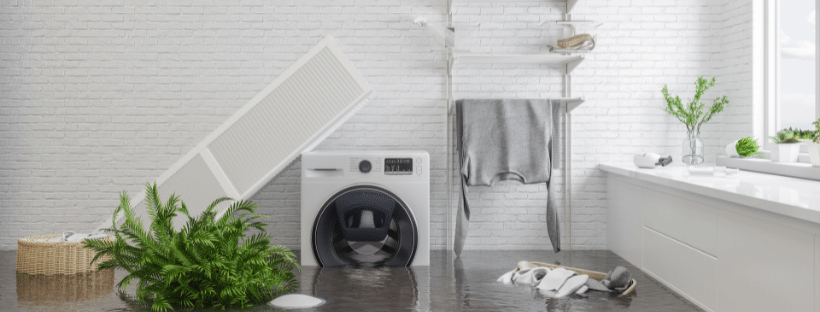
What Type of Water is it?
Water is not Water!
There are three types of water.
The first type is "clean" water. This generally comes from rain, condensation, leaky pipes. Clean Water relatively harmless and you can clean it up yourself.
The second type is gray water. This is slightly dirty water and comes from dishwashers, washing machines, clean toilets.
Gray water may have some contaminants. You can clean it up yourself if you remove it carefully and with proper safety gear to protect yourself.
The third type is black water. This includes sewage or serious flooding from nearby rivers, etc. This water is dangerous and contains waste, bacteria and other serious contaminants. Black water can cause very serious health problems, and you shouldn't try to clean it up yourself.
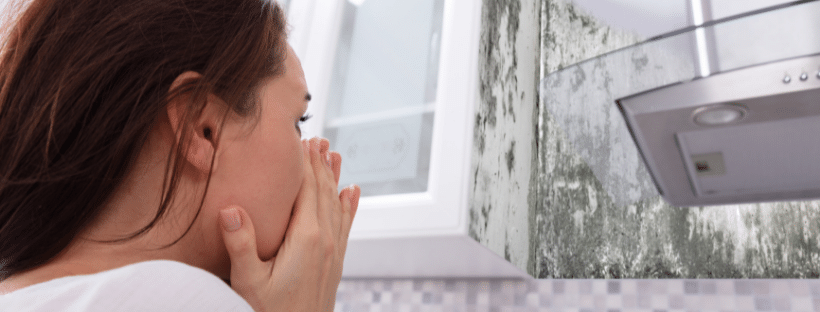
Mold is Serious!
Next, you should inspect any damaged materials for mold and mildew. In the right conditions, mold can start to grow in as little as 24 hours. If you find mold and mildew, you need to be very careful. Some mold is toxic to humans, and all mold is very damaging to the materials it grows on. For small mold issues, cut out the material, place it in a sealed bag, and throw it away immediately. For serious mold issues, get out of the area, shut down any airflow (to avoid spore contamination) and call a professional. Be aware that mold can show up in hidden areas like inside walls or under floors, so this inspection and water damage repair will be ongoing.
Dry out the Area
It's important to remove all moisture quickly before it causes more damage. This may not be difficult for small areas, but it's important to be thorough. Fans can be used to circulate air in the affected area. For larger areas it would be best to hire a large-capacity dehumidifier. This will help dry out surrounding wood, carpet, and other materials. You must ensure there is no moisture left after your water damage repair.
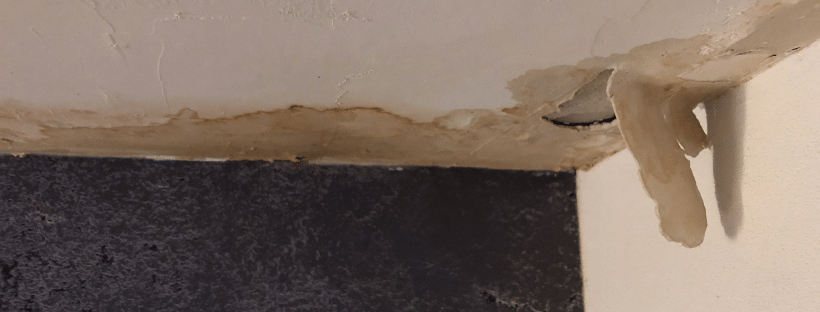
Remove Damaged Material
Damaged and porous materials include carpet, insulation, fabric, and similar items. If they've been soaked in water, you may have to remove them and throw them away. Water will permanently damage most porous materials. They shrink or warp and mildew will damage them even further. And if you have a favourite piece of furniture you want to save, you could try isolating and drying it out, but the damage may already be done, especially if you see water damage in the walls. Note that unsealed cement, drywall, and wood are also porous materials.
Clean and Disinfect all Surfaces
After damaged components have been removed, you need to disinfect all surfaces before beginning work. There are a variety of options you can choose from, but a bleach solution tends to be the most effective. To ensure no mold spores remain, lightly spray and wipe down the area thoroughly before you start water damage repair.
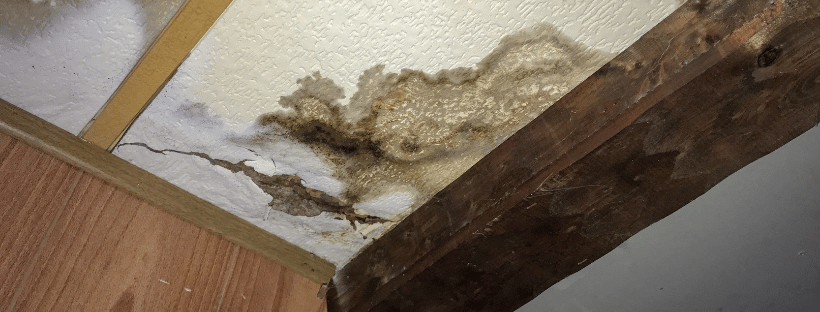
Start With The Ceilings
Ceilings exposed to water damage are more at risk due to gravity: They are more prone to sagging or collapsing. Remove affected ceiling panels or boards first. If the ceiling leak is caused by a roof problem, it's important to find the source of the leak. The leak can often start somewhere far removed from the water stain. Ensure you check that the water has not caused any structural damage to beams or rafters.
Remove Water Damaged Timber
Severely warped wood, especially flooring, Rotting wood and wood that has developed mold or mildew will need to be replaced. Remove damaged boards and thoroughly clean beneath them before replacing them. If the wood is a structural component of the building, you must be very careful when replacing it. The structural integrity of the building must be maintained during and after the water damage repair is done.
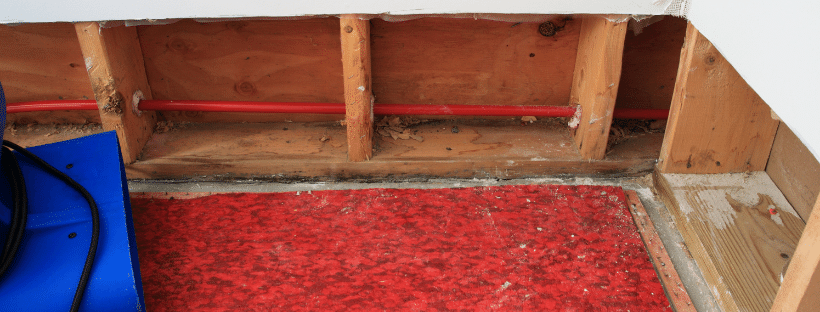
Install New Floors
Wet carpets and swollen floorboards are generally signs that water has damaged your floor. It is important to check if moisture has become trapped underneath. Underlay and padding are particularly susceptible to water damage and must be removed immediately. Replacing carpet with ceramic tile, high-end vinyl and certain engineered wood materials can all help protect floors against future water damage repair.
Replace Damaged Plasterboard / Gyprock
How much plaster should you replace if you have plaster water damage? If the plasterboard / Gyprock has swelled, sagged or been damaged you need to replace the entire sheet. You can cut out and water damaged section but it is generally better to replace the whole sheet. Always check the insulation behind the plaster for damage as well.
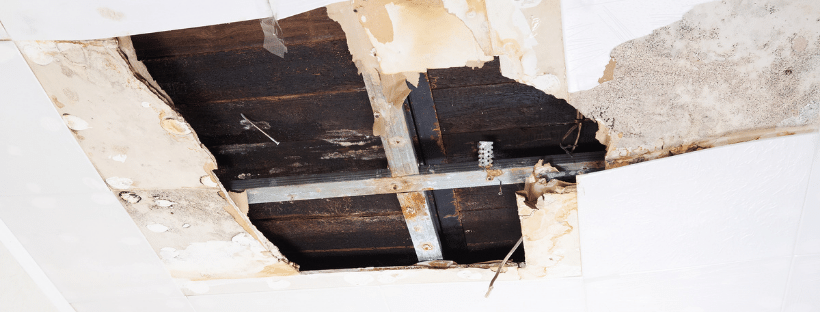
Inspect and Replace Outside Wall Cladding
Roof problems can cause water damage to exterior wall materials as well. The biggest danger is water seeping in behind your cladding and causing permanent damage to more vulnerable materials. If this happens, you will need to remove or replace the cladding quickly before rot sets in. It's important to do a thorough inspection around the outside of your house.
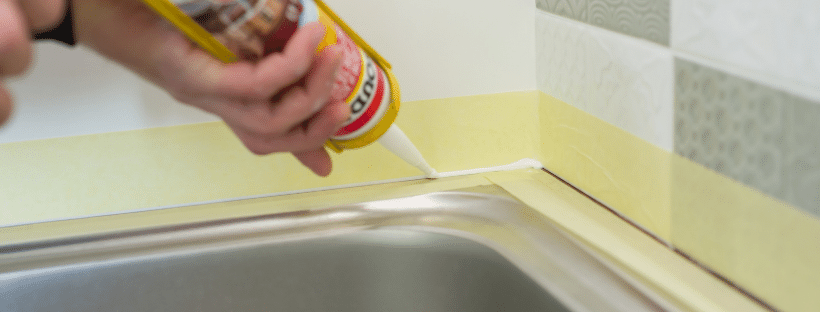
Fill, Seal and Paint
After all material surfaces have been replaced, match your paint or stain for touch ups or apply a fresh coat. This is also the time to fill and seal the new materials to help minimize any future water problems.

