Top Tips for Wall Cleaning to Keep Your Interior Paint Looking Fresh
Keeping your walls clean is essential not only for a pristine home but also for maintaining the longevity and appearance of your paint job.
Often, we think of wall cleaning only when
preparing for a fresh coat of paint, but regular cleaning can help keep your walls looking vibrant and protect the paint from premature fading or damage.
Here are some top tips to clean your walls without damaging the paint, helping them stay bright and beautiful for years.
Choose the Right Cleaning Products for Your Paint Type
Different types of paint finishes—such as matte, eggshell, satin, or gloss—require different cleaning approaches.
Choosing the right products and techniques for your wall finish can prevent damage:
- Matte and Eggshell Finishes: These finishes are more delicate and prone to scuffing. Clean with a soft cloth or sponge and a mild detergent mixed with water. Avoid harsh scrubbing.
- Satin and Semi-Gloss Finishes: These finishes are slightly more durable and can handle light scrubbing. Use a mild cleaner, but avoid abrasive pads.
- Gloss and High-Gloss Finishes: High-gloss paints are the easiest to clean and can handle tougher stains. Use a gentle cleaner and a soft cloth to preserve their shine.
Dust Walls Regularly
Dust may seem harmless, but it can gradually dull the colour and vibrancy of your walls.
Regular dusting is a simple way to keep walls looking fresh:
- Use a Microfibre Cloth:
Gently wipe walls with a microfibre cloth or dusting wand to remove dust without scratching the paint.
- For Higher Walls:
Attach a microfibre cloth to an extension pole for easy dusting of high areas, such as ceilings or the tops of walls.
- Try a Vacuum:
For textured walls, a vacuum with a soft brush attachment can help remove dust from crevices without damage.
Spot Clean Stains Promptly
Removing stains as soon as they happen can prevent them from setting and becoming harder to clean:
- Use a Gentle Solution:
For light marks or fingerprints, mix a small amount of dish soap with water, and dab with a soft cloth.
- Avoid Abrasives: Never use steel wool, abrasive cleaners, or harsh chemicals, as these can scratch or strip the paint.
- Stubborn Stains: For tougher stains like grease or crayon marks, use a small amount of baking soda mixed with water on a soft cloth. Gently rub the area, and then wipe with a clean, damp cloth to avoid residue.
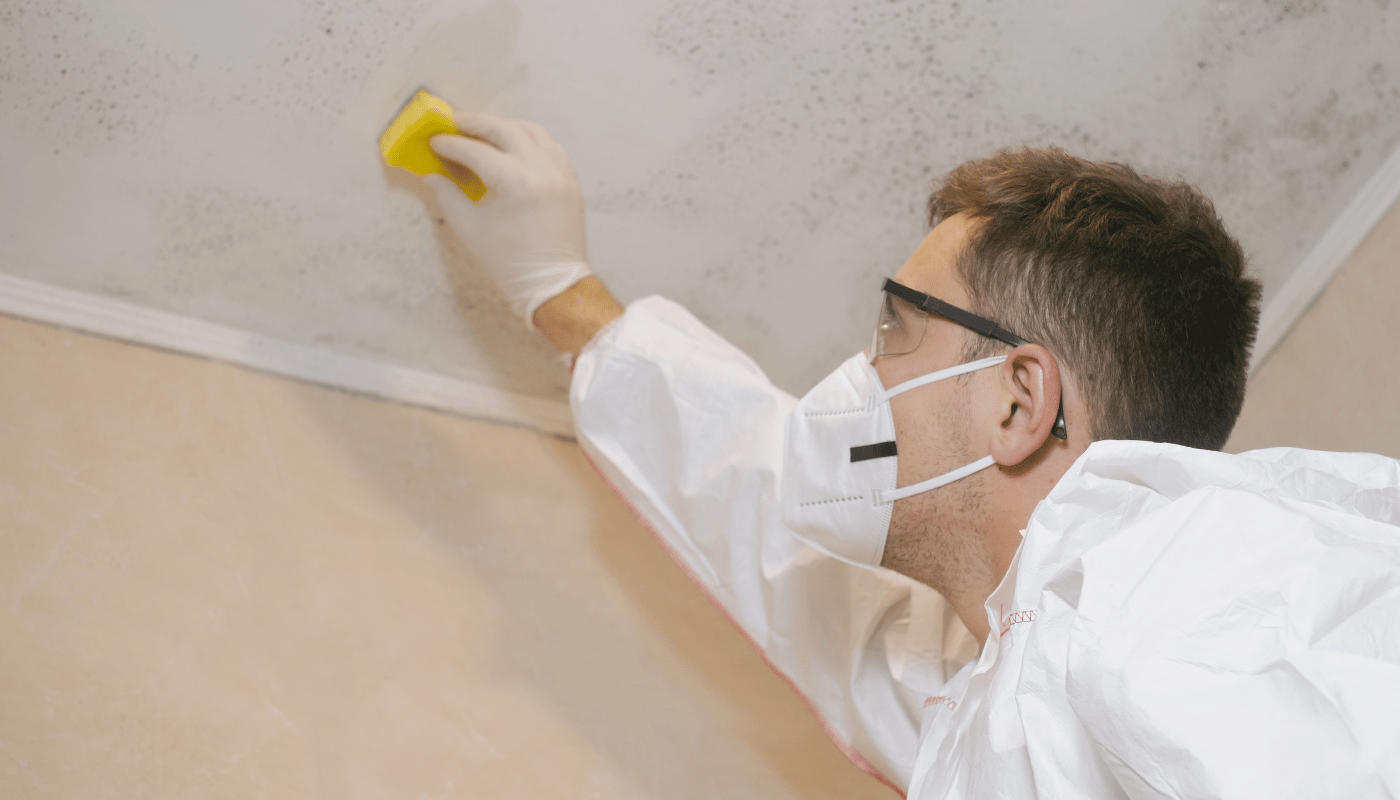
Tackle Mould and Mildew with Care
If you notice mould or mildew on your walls, it’s crucial to remove it carefully to prevent damage to both the paint and your health:
- Use Vinegar for Mild Mould: Mix equal parts white vinegar and water, spray on the affected area, and let it sit for an hour. Wipe with a damp cloth.
- Avoid Bleach on Painted Walls:
Bleach can damage paint finishes and cause discolouration. Stick to mild cleaning solutions and consult a professional for severe cases.
Keep a Routine for Regular Maintenance
Frequent, gentle cleaning keeps your walls fresh and can save you from the need for major cleaning or repainting.
Here’s a simple maintenance schedule:
- Weekly Dusting: A quick dusting each week can keep surfaces free of grime and pollutants that could damage the paint.
- Monthly Spot Cleaning:
Tackle any visible marks or stains with a soft cloth and a mild detergent solution.
- Deep Clean Twice a Year:
Schedule a more thorough wall cleaning twice a year, especially in high-traffic areas like kitchens, bathrooms, and hallways.
Avoid Excessive Moisture
Excess moisture can damage walls and lead to peeling paint.
Here’s how to protect your walls from water damage:
- Use Minimal Water:
Avoid soaking your cloth or sponge. Too much water can seep into the paint and weaken its adhesion.
- Dry Thoroughly: After cleaning, wipe the walls with a dry cloth to ensure they’re free of excess moisture.
- Ventilate High-Humidity Areas: In bathrooms and kitchens, use exhaust fans or open windows to reduce humidity that can cause mould and mildew buildup.
Protect High-Touch Areas
Certain areas, like near light switches, doorways, and furniture, are prone to more contact and fingerprints.
Protect these areas with the following tips:
- Apply a Protective Coat: In high-traffic rooms, applying a clear protective topcoat over painted walls can add durability and make cleaning easier.
- Use Washable Paint: For rooms prone to marks, like children’s rooms, kitchens, and hallways, consider using washable paint, which is formulated to withstand cleaning without fading or chipping.
Remove Fuzz from New Cleaning Tools
New sponges or cloths can sometimes leave fuzz or lint on walls.
To prevent this:
- Rinse and Wring Out New Sponges: Rinse out new sponges thoroughly before use to remove any loose fibres.
- Lint Rollers for Cloths: If using cloths, try rolling a lint roller over them before cleaning to remove any loose particles.
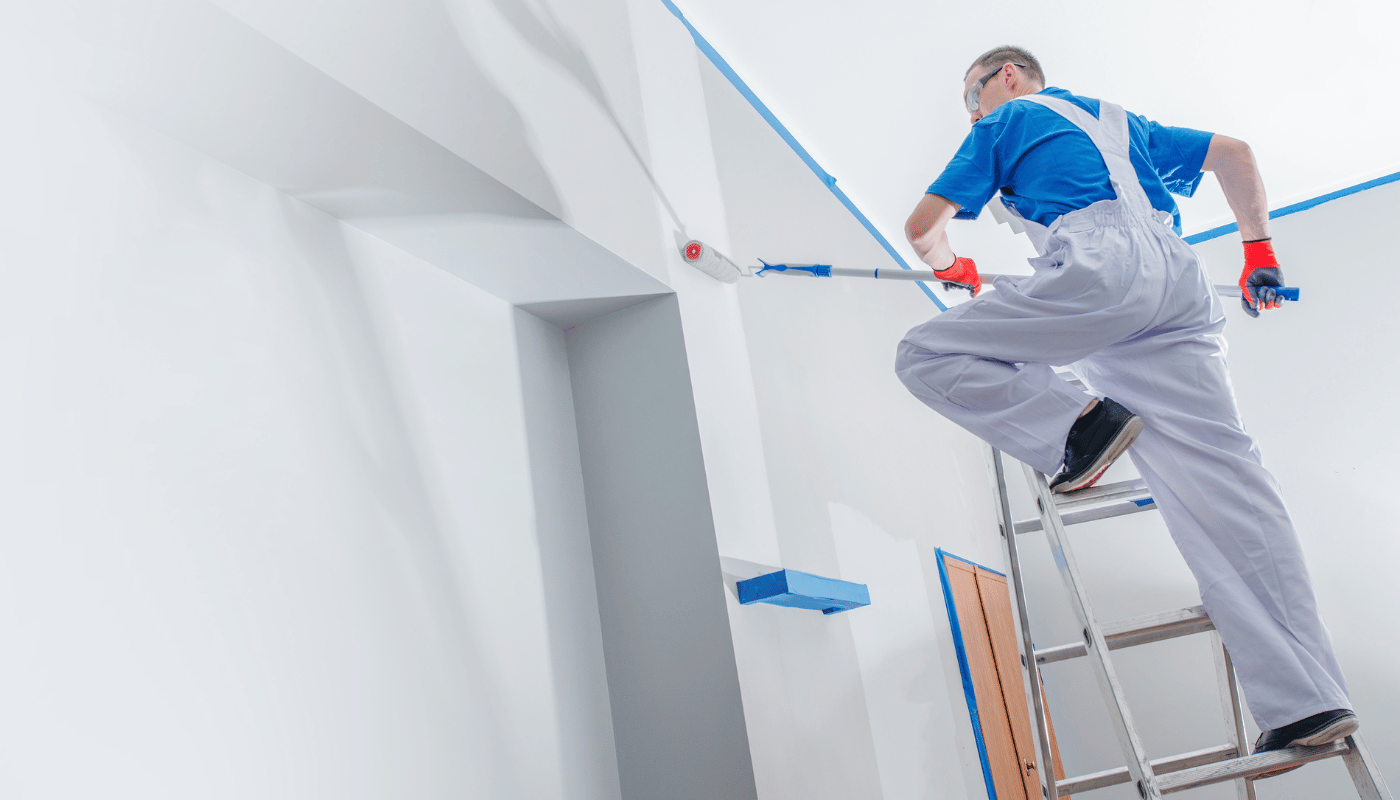
How to Clean and Prep Walls for Painting
Painting walls is a fantastic way to transform a space, but prepping them properly is essential for a smooth, long-lasting finish. While the painting itself can be enjoyable, wall preparation requires attention to detail.
Here’s a step-by-step guide to get your walls ready for a fresh coat of paint.
Step 1: Protect Furniture and Floors
Begin by covering any furniture and flooring to protect them from dust, debris, and potential paint splatters. Use drop cloths or plastic sheeting and secure them in place to prevent movement. This precaution will save you time on cleanup later and keep your furnishings safe.
Step 2: Remove Dust and Cobwebs
Once the room is protected, use a cloth or dust brush to remove any cobwebs, dust, and loose dirt from the walls. This initial cleaning step ensures that both your paint and brushes stay clean, reducing the risk of dirt contaminating your paint job.
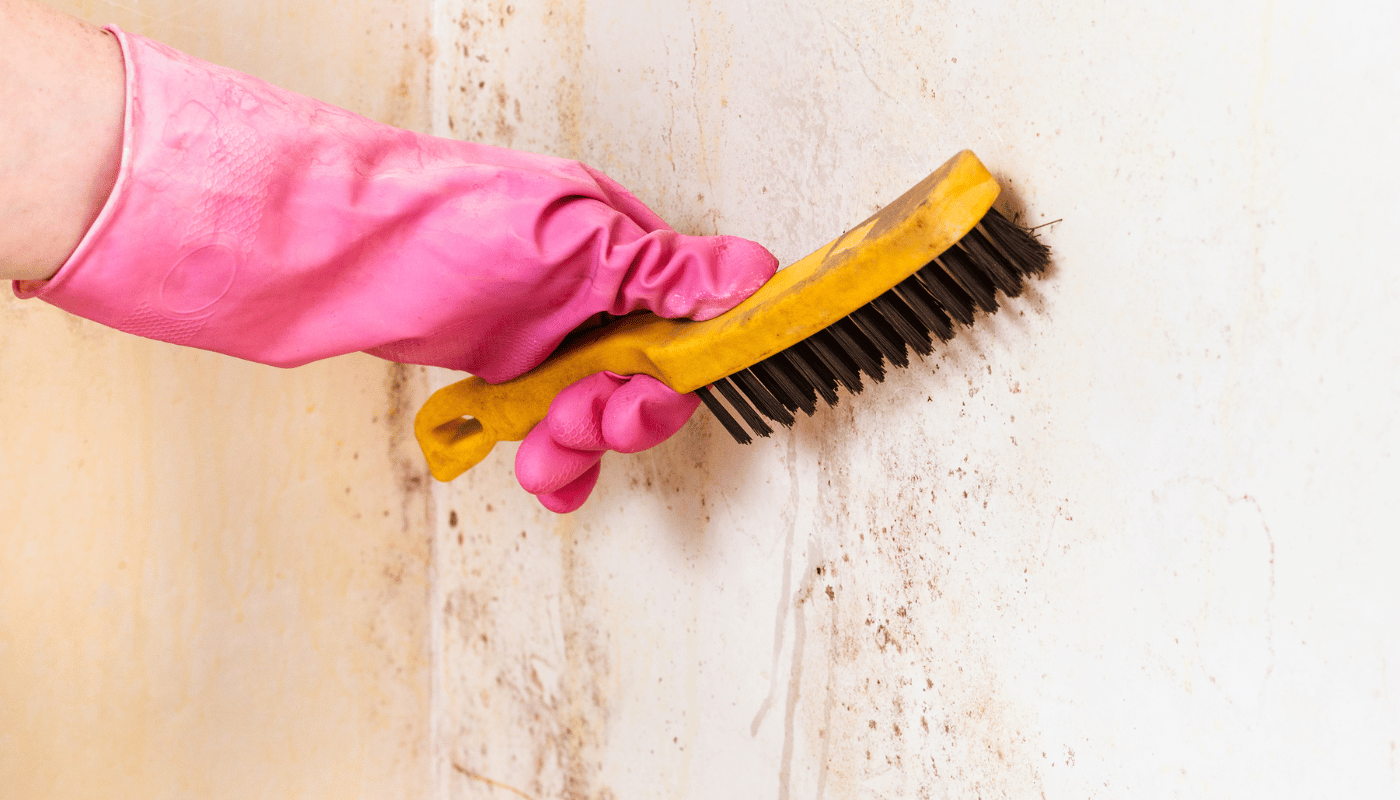
Step 3: Check for Mould
Inspect your walls for any signs of mould, as it must be removed before painting.
If you spot any, spray the area with a fungicidal solution or a mould-killing spray.
Be sure to keep the room well-ventilated while treating mould, as it thrives in damp, stale environments.
Allow the solution to sit as instructed, then wipe it off to ensure a mould-free surface.
Step 4: Assess the Wall Surface
Examine the wall surface for imperfections like bubbled or chipped paint, rough patches, or other inconsistencies.
For any uneven areas, lightly sand with fine-grade sandpaper to create a smooth, even texture.
If the existing surface is shiny and you prefer a matte finish, a light sanding will also help the new paint adhere better.
For Removing Wallpaper: If you have
wallpaper, use a wallpaper remover, which softens and loosens the adhesive.
Make sure to remove all traces of glue; any leftover residue can cause discoloration in your paint.
Step 5: Wash the Walls Thoroughly
With your walls in good condition, it’s time to clean them.
Washing walls before painting is essential to remove any grease, grime, or residues that could affect the paint’s adhesion.
The best cleaning solution for this is sugar soap, which effectively cuts through dirt and grease.
- Using Sugar Soap: Wear protective gloves and eye protection when working with sugar soap to avoid skin and eye irritation. Follow the instructions on the package to prepare the solution.
- Application: Soak a clean, soft cloth in the solution, then wipe down the walls from top to bottom. After cleaning with sugar soap, rinse the walls with a damp sponge and clean water to remove any remaining soap residue.
Ensure your walls are completely dry before painting.
This final preparation step will help your new paint go on smoothly and adhere well to the surface, giving you a fresh, flawless finish.
Final Touches to Keep Walls Looking Fresh
After cleaning, there are a few extra steps you can take to keep walls looking their best:
Touch Up Paint: If you notice small scratches or faded spots, consider using a small brush to touch up these areas with leftover paint.
Inspect Regularly: Keep an eye out for any marks, scratches, or signs of damage so you can address them promptly.