Top 5 painting tips for DIY house painters

5 Great painting tips for DIY house painters

When tackling a DIY house painting project, success lies in preparation, technique, and the quality of the materials you use.
Here are the top 5 painting tips to help you achieve a professional-looking finish:
Preparation is Key
The old saying "Preparation is Key" is particularly true in the area of DIY house painting, where the quality of your finished project largely depends on the effort you put in before ever touching paint to wall.
A meticulous preparation process ensures that the paint will not only adhere better but will also look smoother and last longer. Here's a more detailed look into each step of the preparation process:
Cleaning the Surface
Dust and Wash: Begin by dusting off your walls with a dry cloth or duster to remove cobwebs and dust.
Then, wash the walls with a solution of mild detergent and water. This step is crucial for removing oils, dirt, and grime that can prevent paint from adhering properly. For kitchens or areas with more significant grime, a stronger degreaser may be necessary.
Rinse and Dry: After washing the walls, rinse them with clean water and allow them to dry completely. Painting over a damp surface can lead to issues like blistering or peeling paint.
Repairing Imperfections
Fill Holes and Cracks: Use a plaster compound to fill in any nail holes, dents, or small cracks.
Apply the compound with a putty knife, smooth it out, and allow it to dry according to the product's instructions. For larger cracks or holes, you may need to use a patching kit or joint compound.
Sanding: Once the filler is dry, sand the repaired areas with fine-grit sandpaper until they're smooth and flush with the surrounding surface. This step is also useful for smoothing out rough textures on the wall, ensuring a smooth finish after painting.
Taping and Covering
Painter's Tape: Apply masking tape along edges, trim, windows, and doors where you don't want paint to go.
Make sure the tape is applied straight and firmly pressed down to prevent paint from bleeding underneath.
Protecting Furniture and Floors: Move furniture away from the walls or cover it with drop cloths or plastic sheeting to protect it from drips and splatters. Use drop cloths or old newspapers to cover the floor, especially along the edges where paint is more likely to drip.
Priming
Use a Primer: In some cases, applying a primer before painting can significantly improve the outcome.
Primer is especially important if you're painting over a darker colour with a lighter one, painting over stains, or working with new plaster or raw wood. Primer helps to create a uniform surface that enhances paint adhesion and can lead to using less paint overall.
Final Checks
Inspect the Surface: Before starting to paint, do a final check of the walls.
Look for any spots you might have missed during the cleaning, filling, or sanding stages. Lighting the wall from different angles can help reveal imperfections you might not have noticed before.
Taking the time to thoroughly prepare your painting surface can transform a good DIY project into a great one.
It might seem like a lot of work, but the superior finish and longevity of your paint job will be well worth the effort.
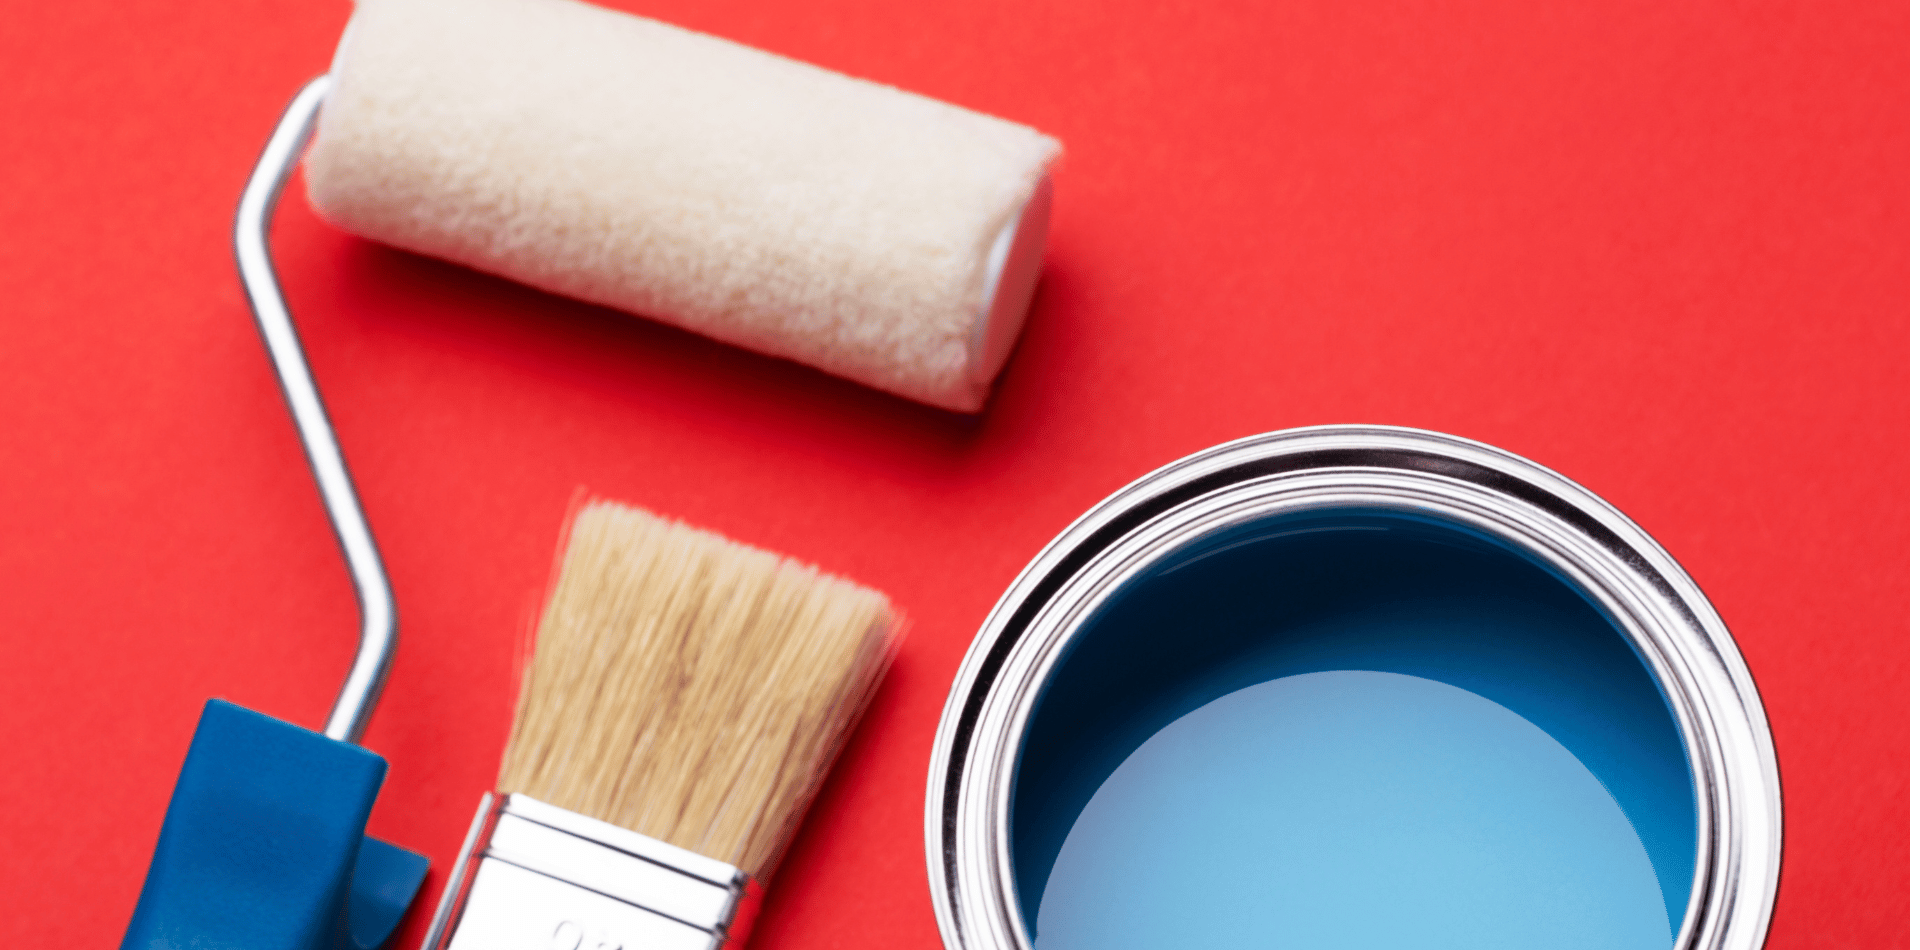
High-Quality Paint
Investing in high-quality materials is a crucial step in ensuring the success of your DIY house painting project.
While the initial cost may be higher, the benefits of using premium products far outweigh the expense, offering better coverage, durability, and overall appearance.
We'll break down why each component—paint, brushes, and rollers—matters and how they contribute to a superior finish.
High-Quality Paint
Better Coverage: High-quality paints typically have a higher concentration of pigments and binders, which translates to better coverage with fewer coats. This can save you both time and money, as you'll need to buy less paint and spend less time applying it.
Durability: Premium paints are formulated to withstand cleaning, fading, and wear, maintaining their colour and finish for longer periods. This makes them ideal for high-traffic areas or rooms exposed to sunlight.
Easier Application: High-quality paint often has a smoother consistency, which makes it easier to apply and can lead to a more professional-looking finish. It also tends to splatter less and adhere better to surfaces.
VOC Levels: Many high-quality paints are now formulated with lower volatile organic compound (VOC) levels, making them safer for indoor air quality and better for the environment.
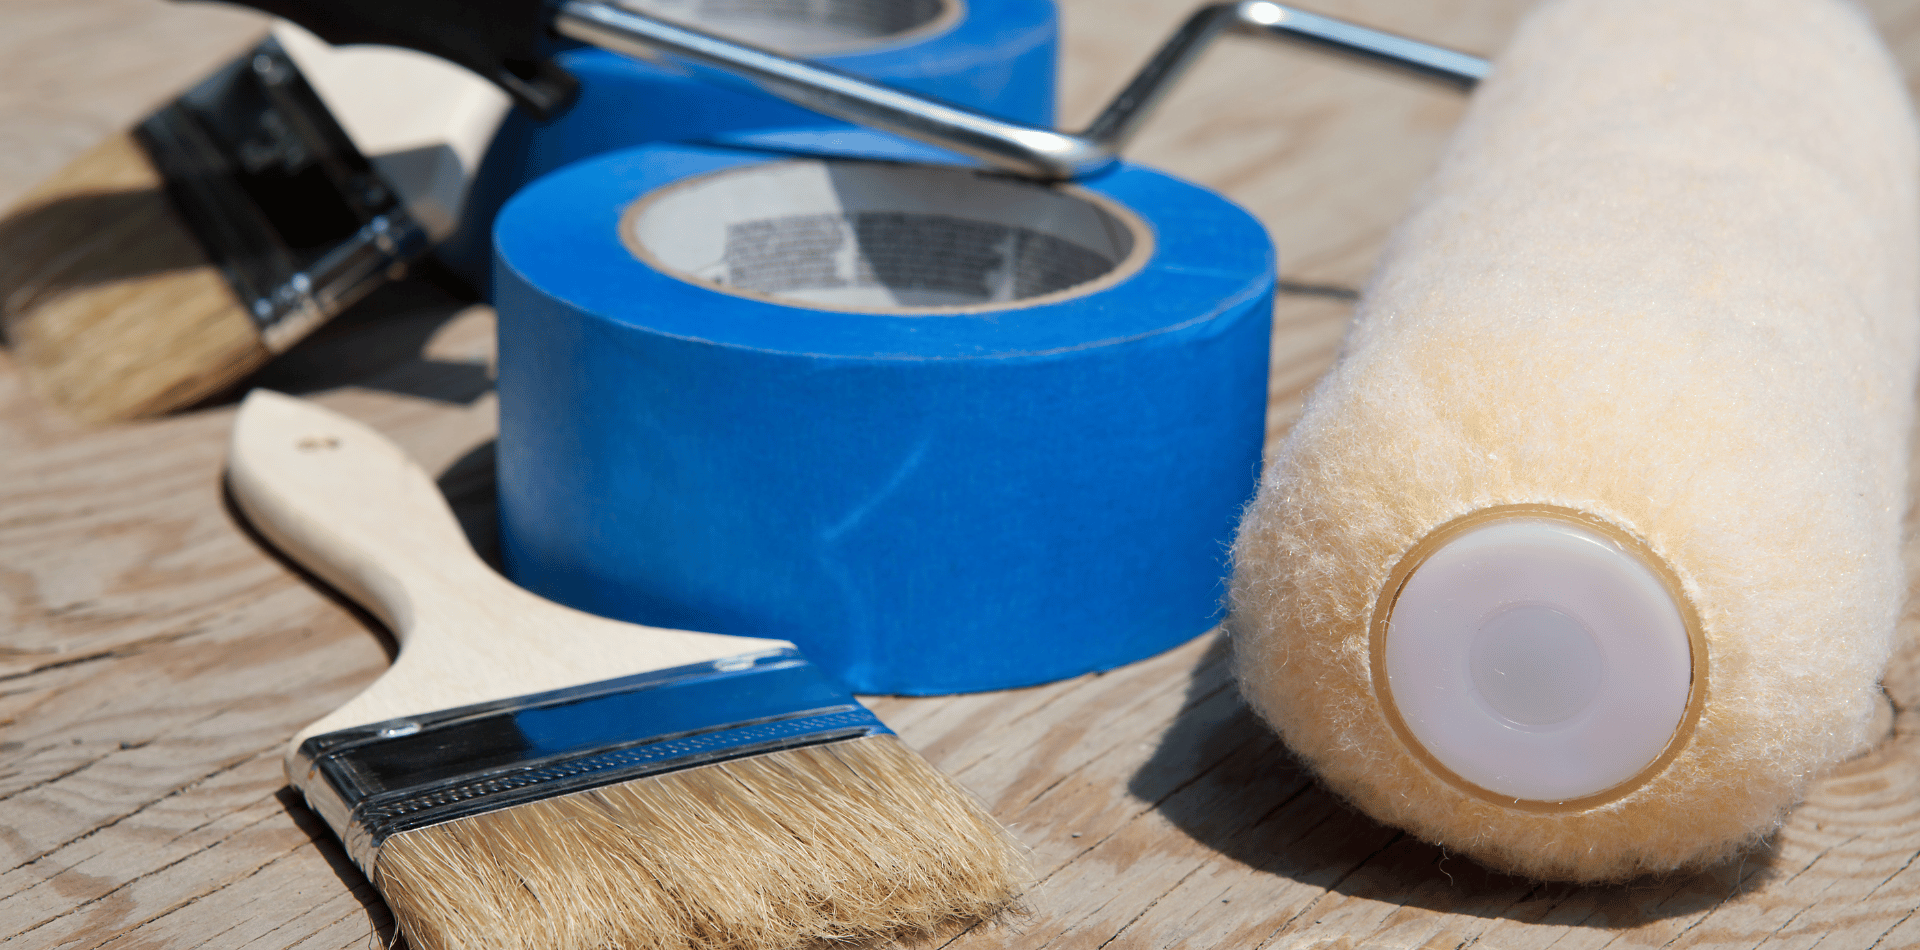
High-Quality Brushes
Bristle Quality: Brushes made with high-quality bristles (either synthetic or natural, depending on the type of paint you're using) hold paint better and provide a smoother application. They're also less likely to shed bristles onto your freshly painted surface.
Precision: Quality brushes offer more precision, allowing you to cut in edges and trim more cleanly. This can make a big difference in the overall look of your paint job, especially in areas where neat lines and edges are visible.
Durability: Unlike cheaper brushes, high-quality ones are designed to last longer, maintaining their shape and effectiveness over many uses when properly cleaned and stored.
High-Quality Rollers
Nap Quality: The nap or pile of a roller affects how much paint it can hold and the texture it will leave on the wall.
High-quality rollers are designed to give you a smooth, even coat and are available in various thicknesses to match the texture of your walls.
Reduced Splatter: Premium rollers are less likely to splatter paint as you work, keeping your workspace cleaner and reducing the amount of cleanup required.
Durability: Just like brushes, high-quality rollers are built to last, able to withstand the pressure of painting without falling apart or becoming too matted down to use.
The saying "you get what you pay for" is particularly true in painting.
By investing in high-quality materials, you're not just paying for the product itself but for the value it brings to your painting project: ease of application, beautiful finish, and longevity.
In the long run, using better materials can actually be more cost-effective, as it reduces the need for frequent touch-ups or repaints, ensuring that your space looks great for years to come.
Master the Brush and Roller Techniques
Mastering brush and roller techniques is essential for achieving a professional-looking finish in your DIY painting project.
These techniques not only improve the aesthetic quality of your work but also enhance efficiency and effectiveness in application. Let's look at how to refine your skills with both tools.
Cutting In with a Brush
Choosing the Right Brush: For cutting in, a 5cm angled sash brush is often recommended.
The angle and size of the brush provide control and precision for painting straight lines along edges and corners.
Loading the Brush: Dip only a third of the bristle length into the paint, tapping off any excess. This prevents dripping and ensures a smoother application.
Technique: Hold the brush like a pencil for maximum control. Begin a few inches away from the edge and move towards it in a smooth motion. Use the narrow edge of the brush for sharper lines. Paint in a small section at a time, smoothing out the paint as you go to prevent buildup and drips.
Maintaining a Wet Edge: Work in sections and always edge while the adjacent area is still wet. This blending technique prevents visible lines or seams from forming between brushed and rolled areas.
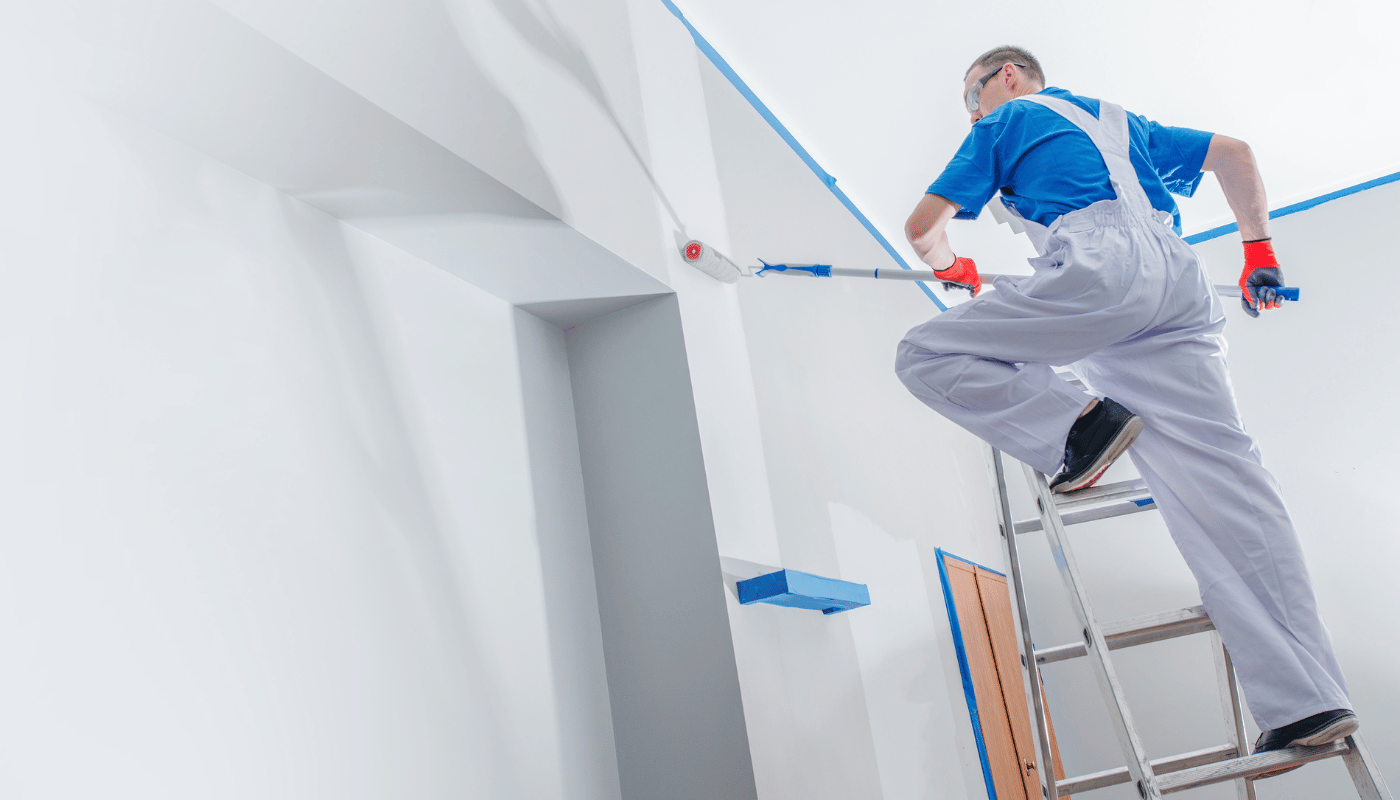
Using a Roller
Selecting a Roller: The roller cover should match the texture of your wall—for smooth surfaces, use a short-nap roller; for more textured surfaces, a longer nap is needed to get into the crevices.
Loading the Roller: Dip the roller into the paint tray, rolling it back and forth over the tray's ridges to evenly coat it. Avoid over-saturating the roller to prevent drips.
Applying Paint with the 'W' or 'M' Technique: Start rolling in an unpainted area, rolling out a 'W' or 'M' (about 1 metre in size) on the wall. Then, without lifting the roller, fill in the pattern with vertical strokes. This method helps distribute the paint evenly and covers more area without leaving roller marks.
Overlap and Smooth Out: As you move to adjacent sections, slightly overlap into the previously painted area. This technique helps maintain a uniform coat and texture. After applying paint with the 'W' or 'M' pattern, go over the area with light, straight strokes to smooth out any unevenness.
Additional Tips
Keep the Edge Wet: To blend the edges seamlessly, especially when cutting in, make sure to work efficiently so the edges stay wet. This technique allows for blending the brushed and rolled paint, minimising visible lines.
Practice Makes Perfect: Before tackling your walls, practice your cutting-in and roller techniques on a spare piece of Gyprock or cardboard. This practice will help you get comfortable with the motion and pressure required for smooth, consistent application.
Clean Edges: Use masking tape for cleaner edges, especially around trim and windows. Press down the edges of the tape for a tight seal to prevent paint bleed.
Mastering these techniques requires patience and practice, but the effort pays off in the professional quality of your paint job. With the right approach, you can achieve smooth, even coats and sharp, clean lines that significantly elevate the look of your space.
Maintain a Wet Edge
Maintaining a wet edge is a fundamental technique in painting that ensures a smooth, uniform finish free from lap marks or visible seams where paint overlaps. Lap marks happen when a section of paint begins to dry before you overlap it with fresh paint, resulting in uneven layers and a noticeable difference in sheen.
Here’s how to effectively maintain a wet edge throughout your painting project:
Work in Small Sections
Plan Your Approach: Before you start painting, plan your approach. Divide the wall into manageable sections. It's easier to maintain a wet edge on a smaller scale than trying to cover a large area all at once.
Paint Sequentially: Tackle one section at a time, making sure to overlap the previously painted area before it has a chance to dry. This method requires a balance between speed and precision to ensure quality coverage without rushing.
Use the Right Amount of Paint
Load Your Brush or Roller Properly: Ensure your brush or roller is adequately loaded with paint, but not so much that it drips. Having enough paint on your applicator helps you cover more area quickly, which is essential for maintaining a wet edge.
Even Application: Apply paint evenly across the section. This consistency helps prevent the paint from drying too quickly in some areas while still wet in others.
Keep Moving
Continuous Motion: Once you start painting, keep moving.
If you take too long on one section, the paint edge will start to dry, making it harder to blend with the next section.
Smooth, continuous strokes help merge the sections seamlessly.
Avoid Breaks: Try to avoid taking breaks mid-section. If you must pause, do so at the end of a section to prevent a visible line from forming where the paint has dried.
Adjust for Conditions
Temperature and Humidity: Be mindful of the painting conditions.
High temperatures and low humidity can make paint dry faster, while cooler, more humid conditions slow down drying times. Adjust your working pace and section size accordingly to maintain a wet edge under varying conditions.
Extend Drying Time: If necessary, use paint extenders (also known as paint conditioners). These additives slow down the drying time of the paint, giving you a more extended window to work with and thus making it easier to maintain a wet edge.
Technique Refinements
Back-Brushing or Back-Rolling: After applying paint with a roller or brush, go back over it lightly to smooth out any thick edges or roller marks. This technique, known as back-brushing or back-rolling, helps blend the paint into the wet edge of the previous section.
Practice and Patience
Skill Development: Like any painting technique, maintaining a wet edge requires practice. Experiment with different brushes, rollers, and painting speeds to find what works best for you and the specific conditions of your project.
Patience: Achieving a smooth finish is rewarding but requires patience and attention to detail. Take your time to ensure each section is done correctly before moving on.
Maintaining a wet edge is crucial for achieving professional-looking results in your DIY painting projects.
By carefully planning your approach and adapting to the working conditions, you can ensure a beautiful, uniform finish that lasts.
Proper Ventilation and Drying Time
The importance of proper ventilation and adherence to recommended drying times cannot be overstated in the context of a painting project.
These factors are crucial not only for the immediate quality and appearance of the paint job but also for its long-term durability and the health of those involved in the project.
Here’s how to manage ventilation and drying times effectively:
Ensuring Proper Ventilation
Open Windows and Doors: Increase airflow in the room by opening windows and doors.
This helps to dissipate paint fumes and brings in fresh air, which is particularly important when using paints that contain volatile organic compounds (VOCs).
Use Fans Strategically: Place fans in windows or doorways to pull fumes out of the room. If it's not possible to vent directly outdoors, use fans to circulate air in the room. Make sure the airflow direction helps to remove fumes from the space rather than just moving them around.
Wear Protective Gear: Even with good ventilation, it's wise to wear a mask, especially if you're using solvent-based paints or if you're in a poorly ventilated space.
Managing Drying Times
Read the Paint Can: Manufacturers provide recommended drying times on the paint can or product datasheet.
These recommendations are based on optimal conditions, so adjust your expectations based on the actual conditions in your painting environment.
Temperature and Humidity Impact: Paint dries best at temperatures between 10°C and 30°C with moderate humidity. High humidity or cooler temperatures can slow down drying times, while excessive heat can speed up drying but may lead to uneven curing.
Wait Between Coats: It's tempting to apply the next coat as soon as the paint doesn't feel tacky, but waiting the full recommended time allows the paint to cure properly. This curing process is not just about the surface drying but about the paint achieving its full durability and adhesion.
Check for Tackiness: If the paint is still tacky or feels soft, it needs more drying time. Applying another coat too soon can trap moisture, leading to a finish that may peel or show brush marks.
Tips for Faster, Safer Drying
Choose Low-VOC Paints: If you're concerned about fumes or are painting in less ventilated areas, low-VOC or no-VOC paints are available. These paints emit fewer fumes and are better for indoor air quality.
Use a Dehumidifier: In humid conditions, using a dehumidifier can help remove moisture from the air, allowing the paint to dry more quickly and evenly.
Plan for the Weather: If possible, paint on days that are conducive to good drying conditions—moderate temperatures and lower humidity.
The Importance of Patience
Long-Term Durability: Allowing paint to dry and cure fully between coats ensures that each layer adheres properly, which is vital for the paint's durability.
Rushed jobs may look fine initially but can fail prematurely.
Professional-Looking Finish: Patience pays off in the appearance of your paint job. Properly dried and cured paint looks smoother and more uniform, with a consistent sheen and colour.
In summary, the proper management of ventilation and drying times is a critical component of a successful painting project.
By ensuring the space is well-ventilated, following the manufacturer's recommended drying times, and adjusting for environmental conditions, you can achieve a finish that is not only beautiful and professional-looking but also durable and safe for occupants.